
Invoices - Overview
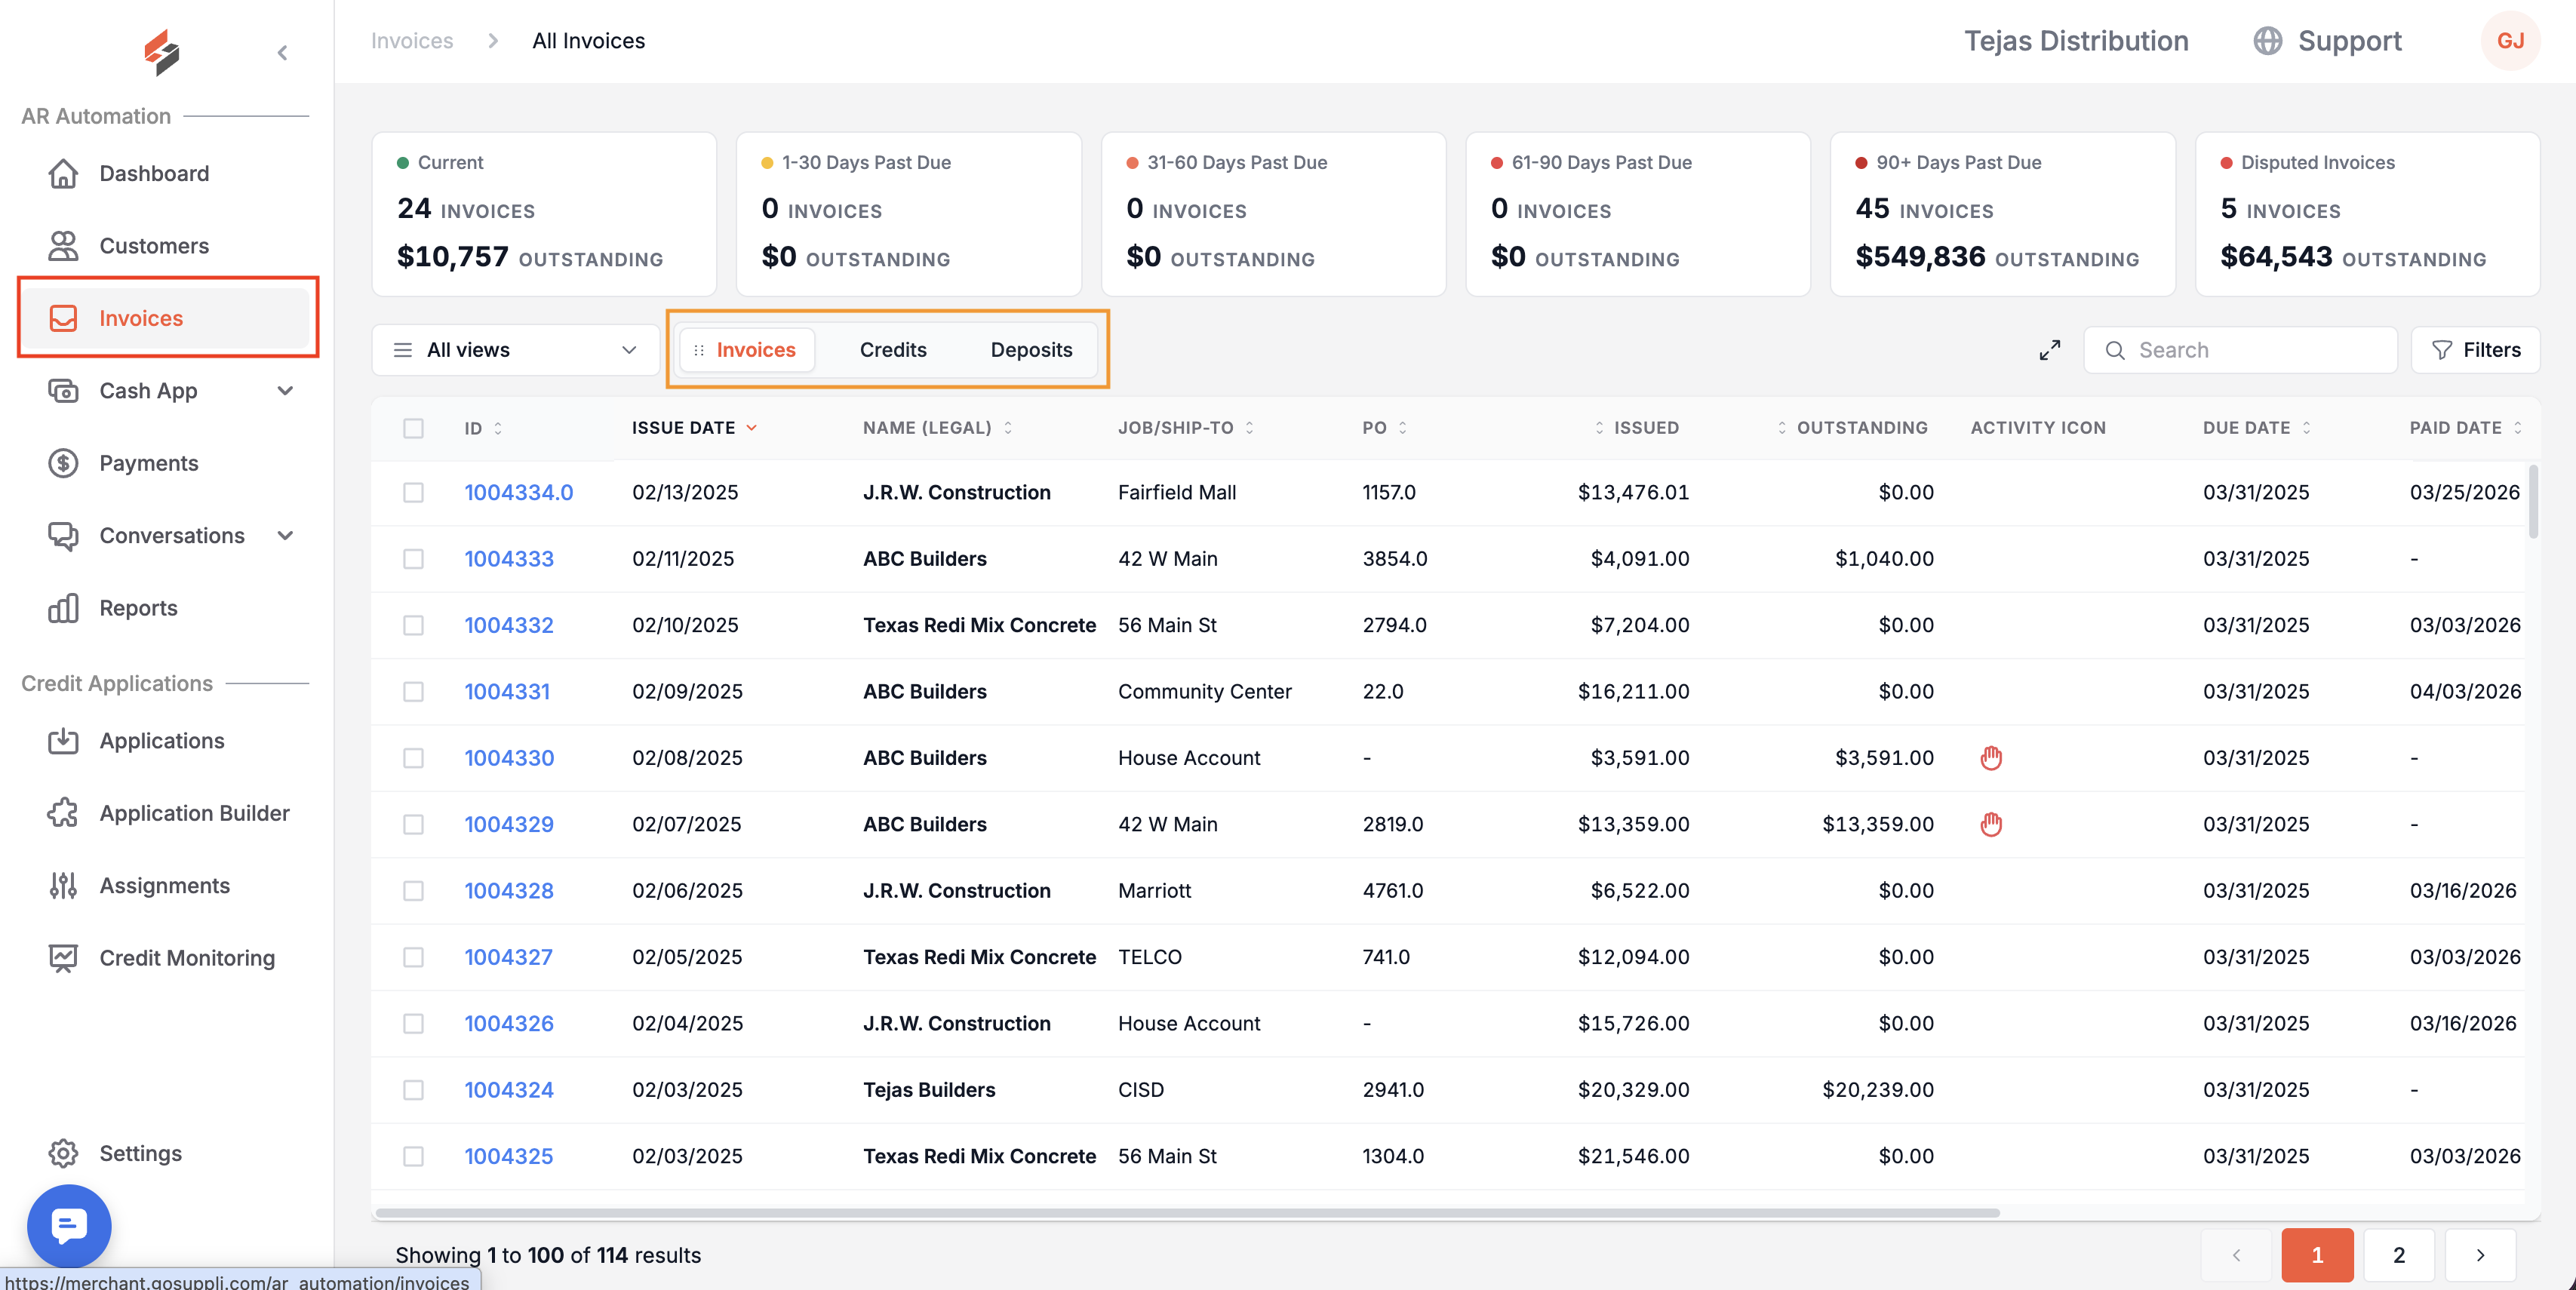
In this section, you can find a list of all Invoices, Credit Memos, Deposits, and Finance Charges across all of your customers. To navigate between these sub-sections, click on the sub-section names (see yellow box in screenshot).
These tables are built on customizable tables, which let you choose which columns to display, reorder them, add filters or change sorting, and save your preferred view. Learn more about customizable tables here.
We have also provided invoice aging buckets at the top of each page within this section and Disputed Invoices. When clicked on, each bucket will take you to Invoices pre-filtered by the respective aging category or disputed Invoices.
In this Section
Invoices
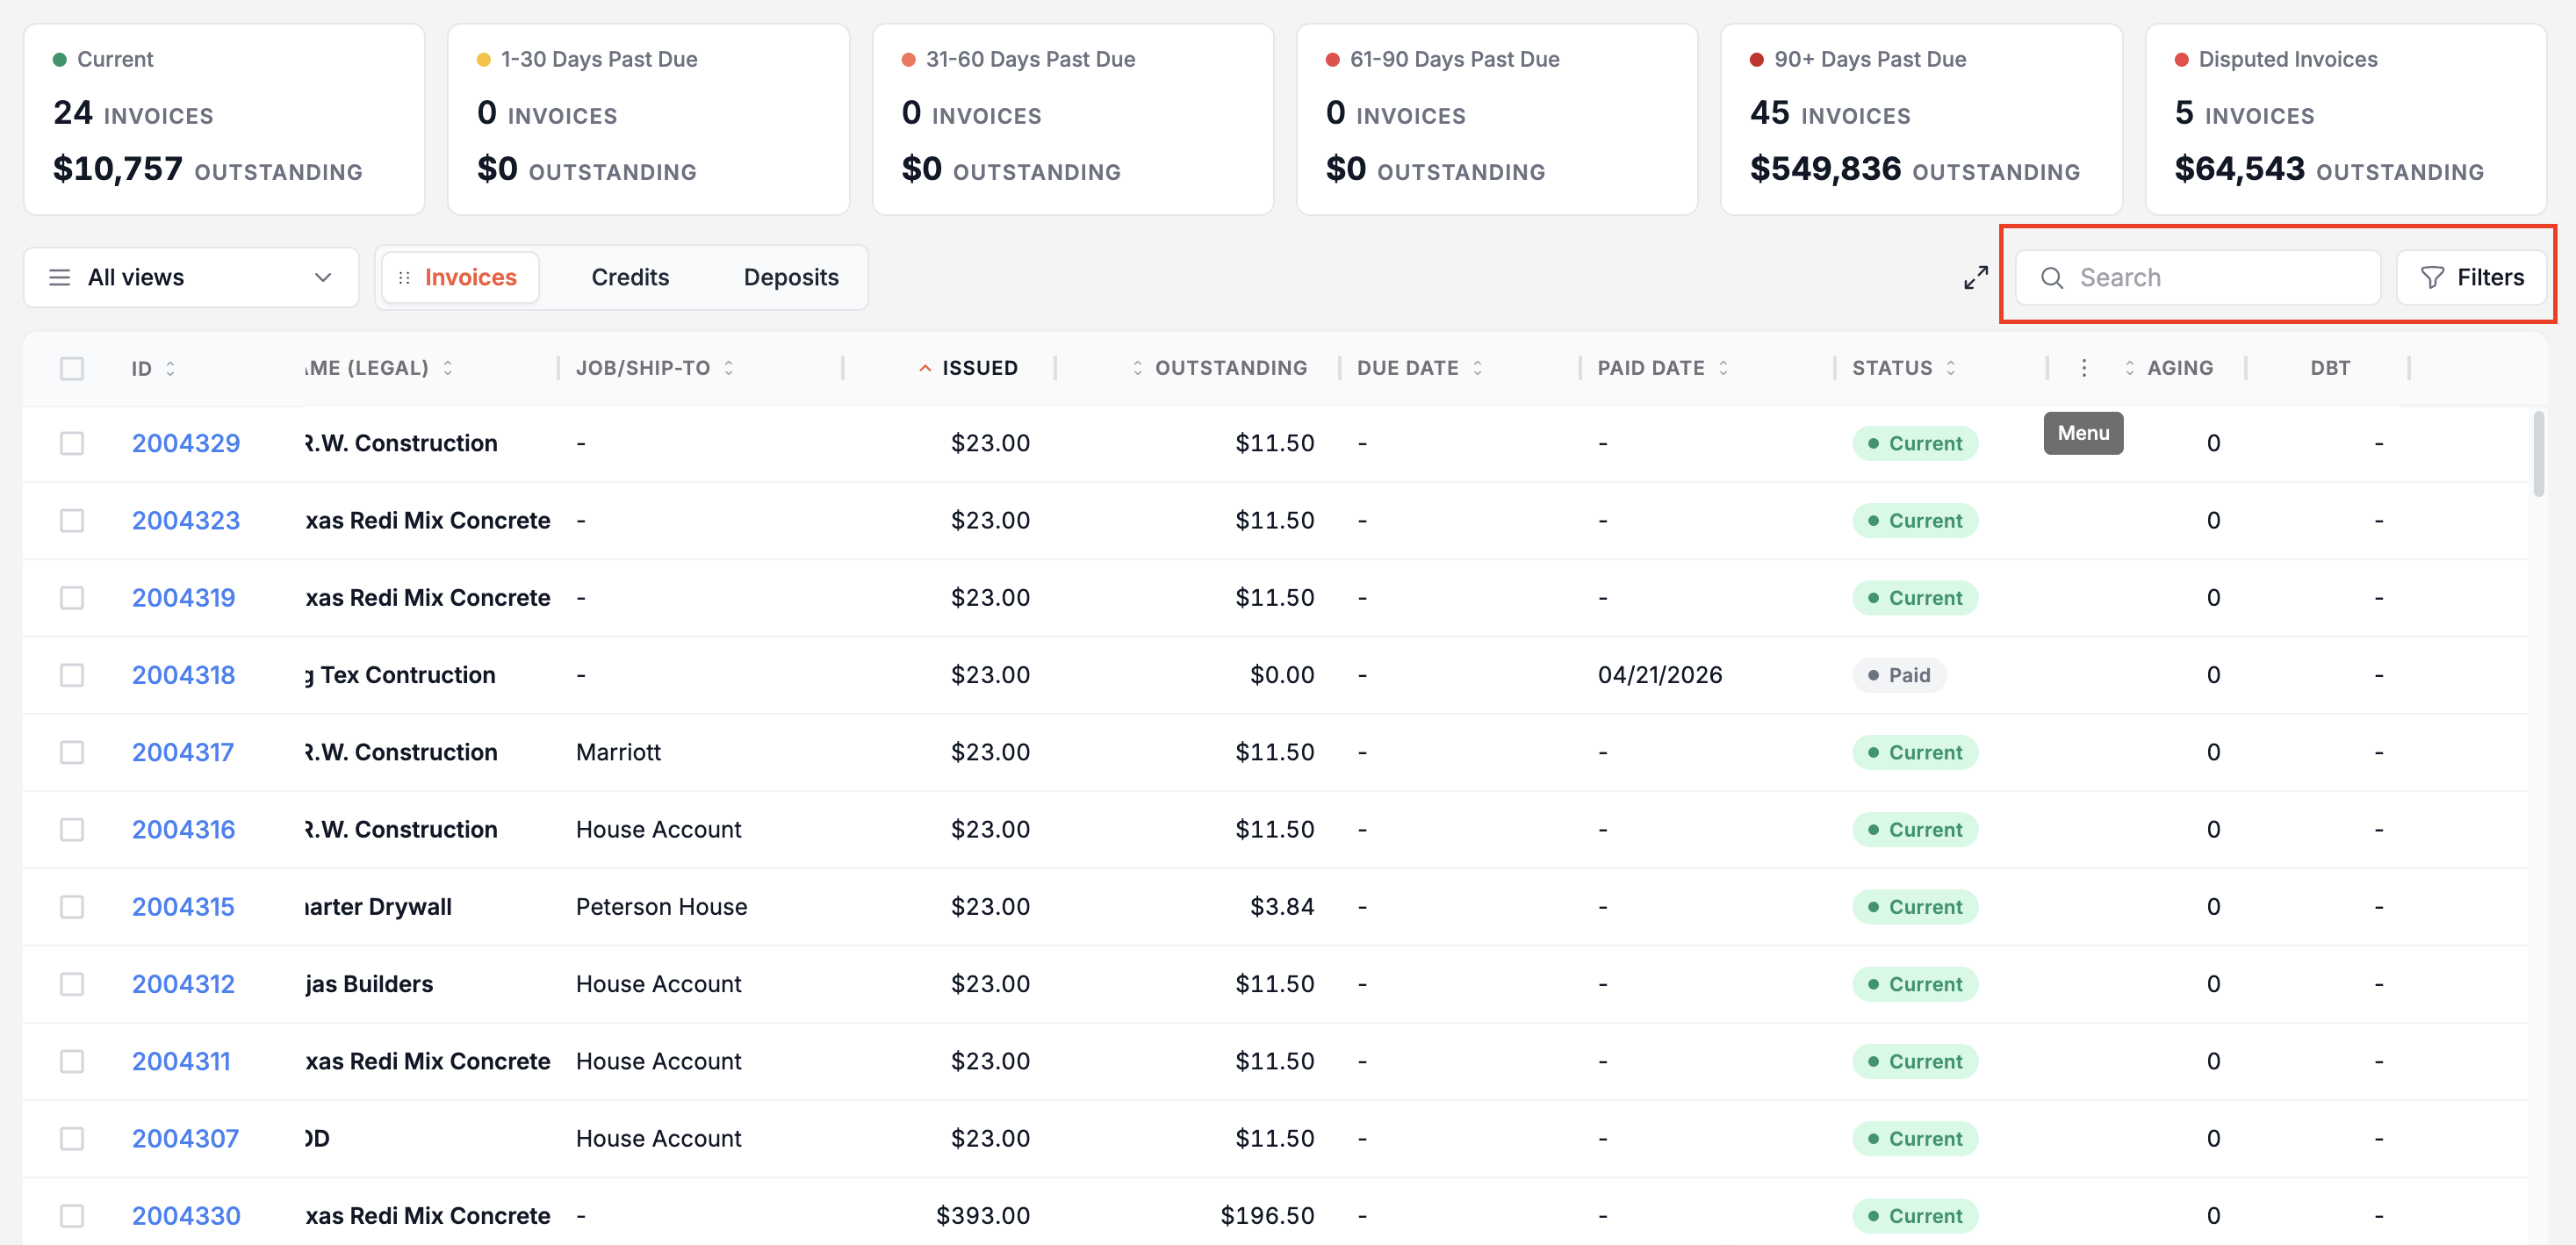
The Invoices view provides a table of all your invoices. Customizable tables let you choose which columns to display, reorder and resize them, and save your preferred view.
Columns are grouped into four categories — use the column picker to show or hide the ones most relevant to your workflow.
Identity
Column | Description |
ID | The invoice number. Always visible. |
Activity Icon | Icons indicating active items on the invoice — Payment Plan, Pending Payment, Dispute, P2P, Finance Charge, or Retention. |
Assigned Rep | The rep assigned to the customer associated with this invoice. |
Job/Ship-to | The Job/Ship-to or job associated with the invoice. |
Location | The location or branch the invoice was issued from, if applicable. |
Name (DBA) | The customer's "doing business as" name. |
Name (Legal) | The customer's legal business name. |
PO | The purchase order number linked to the invoice, if applicable. |
Amounts
Column | Description |
Issued | The original invoiced amount. |
Outstanding | The amount currently outstanding on the invoice. Note: this figure does not include finance charges. |
Dates
Column | Description |
Dispute Date | The date a dispute was opened on the invoice. |
Due Date | The date the invoice payment is due. |
Issue Date | The date the invoice was generated. |
Last Payment Date | The date the most recent payment was applied to the invoice. |
Paid Date | The date the invoice was paid in full. |
Resolution Date | The date a dispute on the invoice was resolved. |
Aging
Column | Description |
Aging | The number of days since the invoice was issued. |
DBT | Days Beyond Terms — how many days past the agreed payment terms the invoice was or is being paid. |
DTP | Days to Pay — the average number of days from invoice issue to payment for this invoice. |
ITP | Issued to Paid — the total number of days from the invoice issue date to when it was paid in full. |
Status | The aging status of the invoice (e.g. Current, 1–30 Days Past Due, 31–60 Days Past Due, etc.). Shows "Paid" once the invoice is fully paid. |
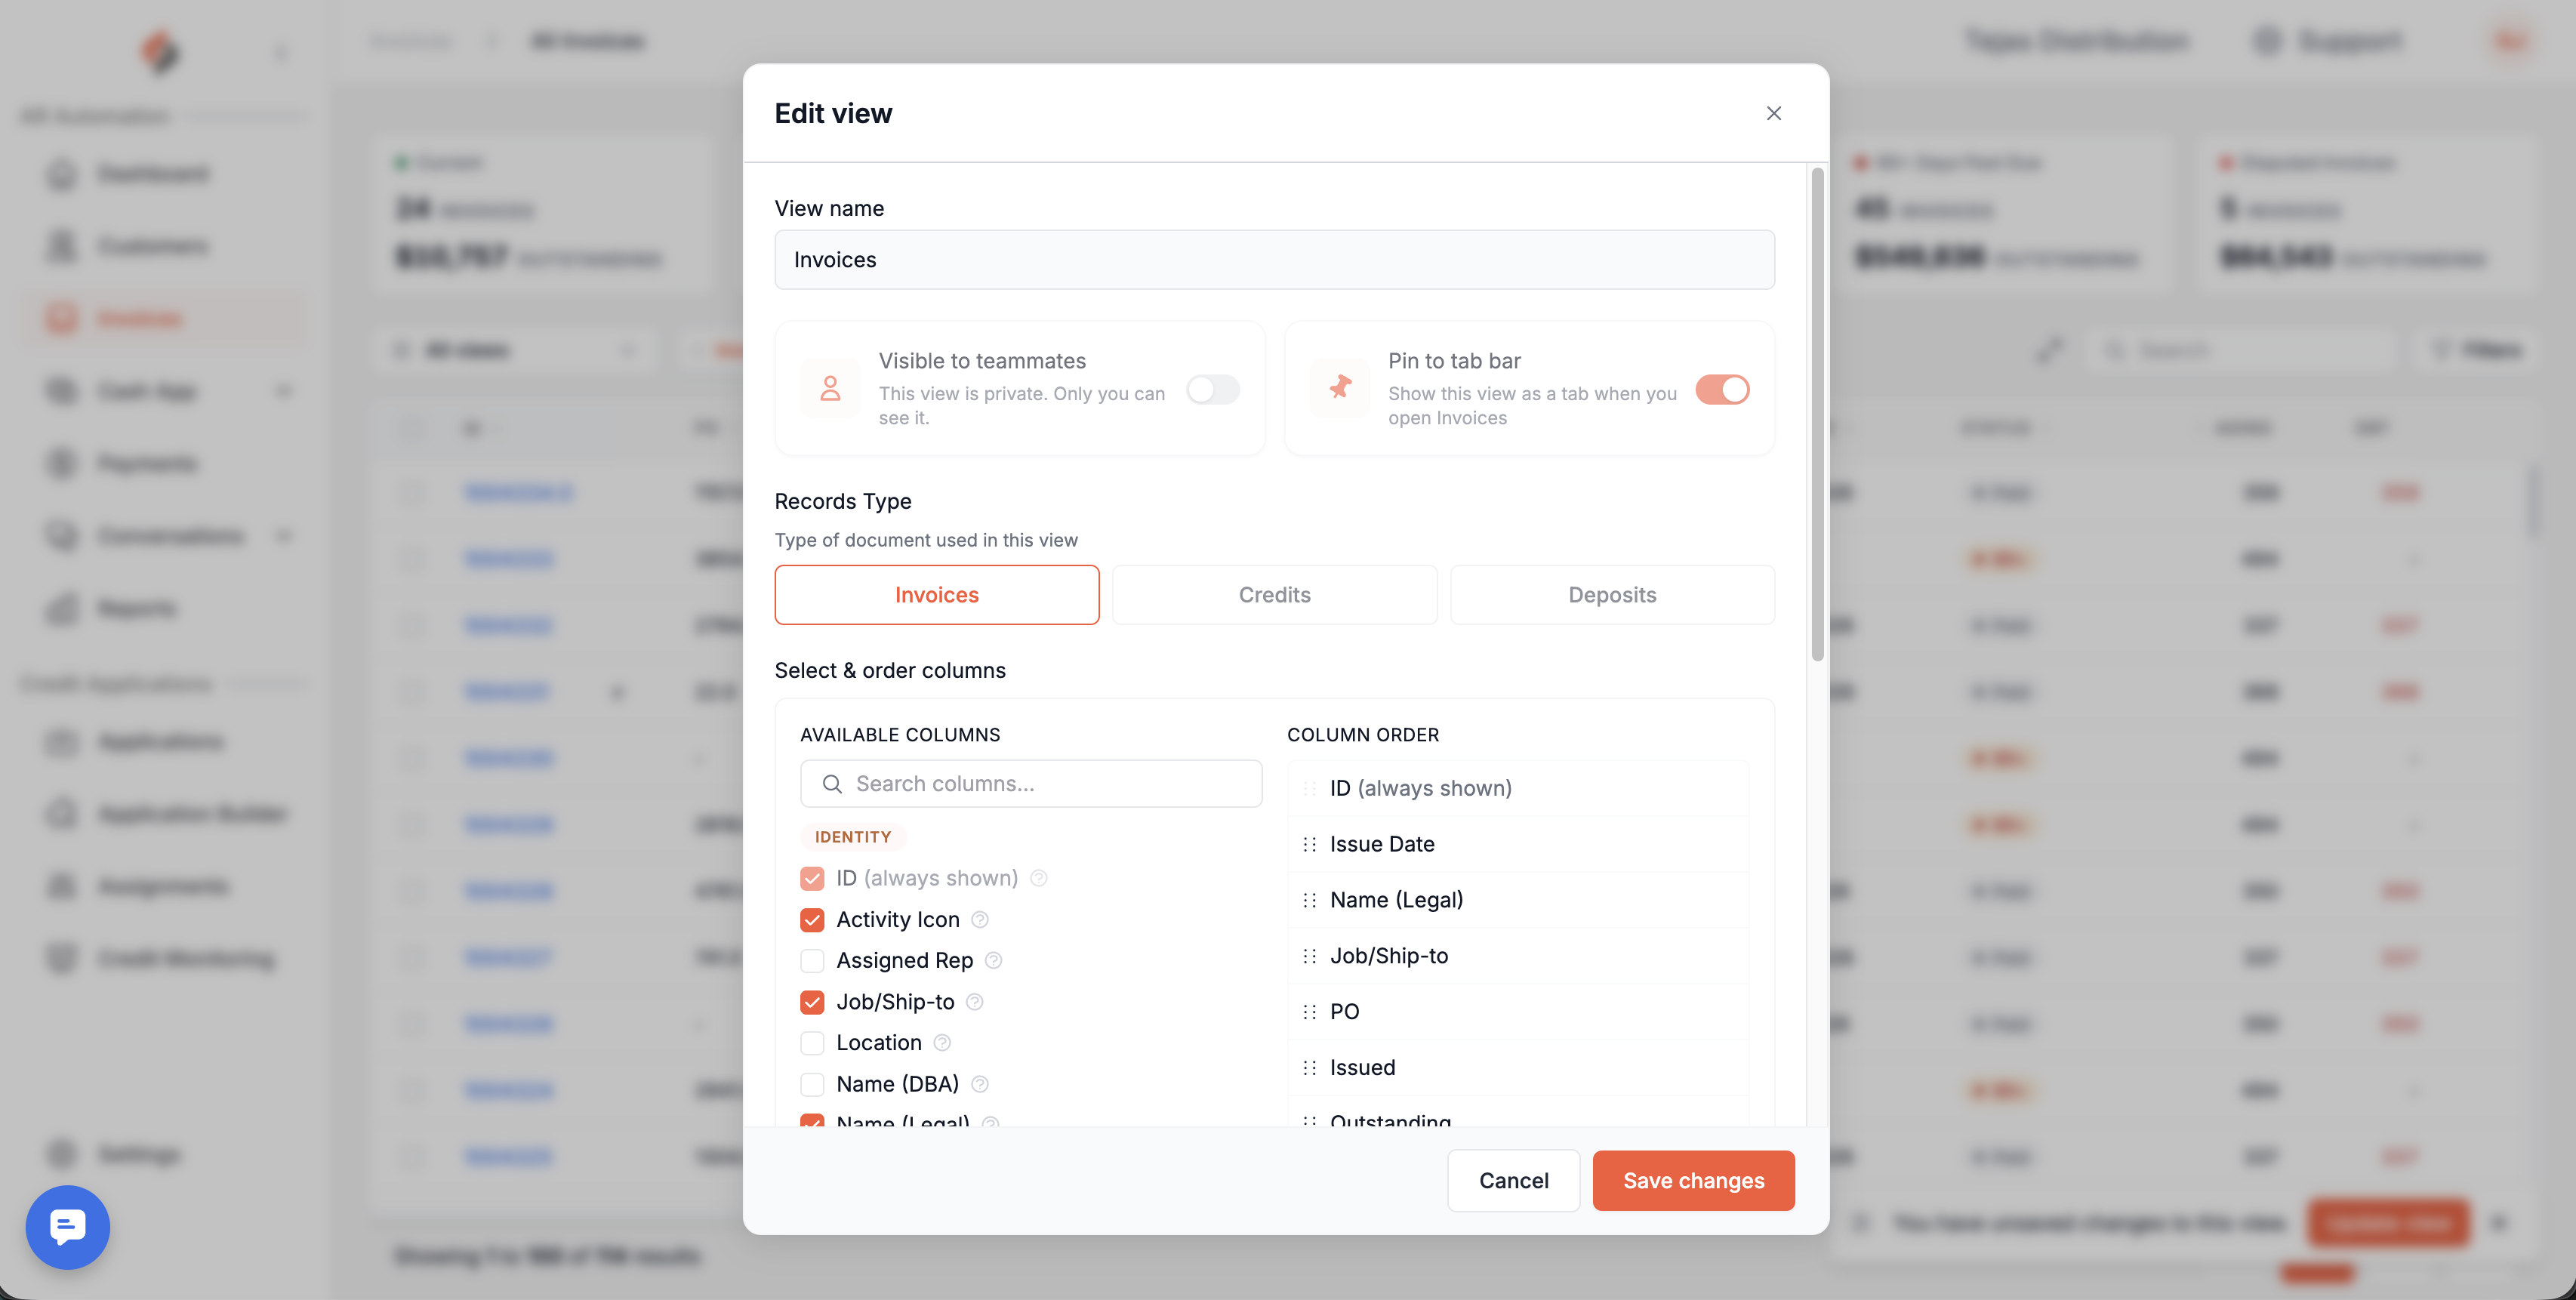
To Sort invoices by a certain column, simply click the arrow in the column heading. The arrow will appear as your mouse hovers over the column header.
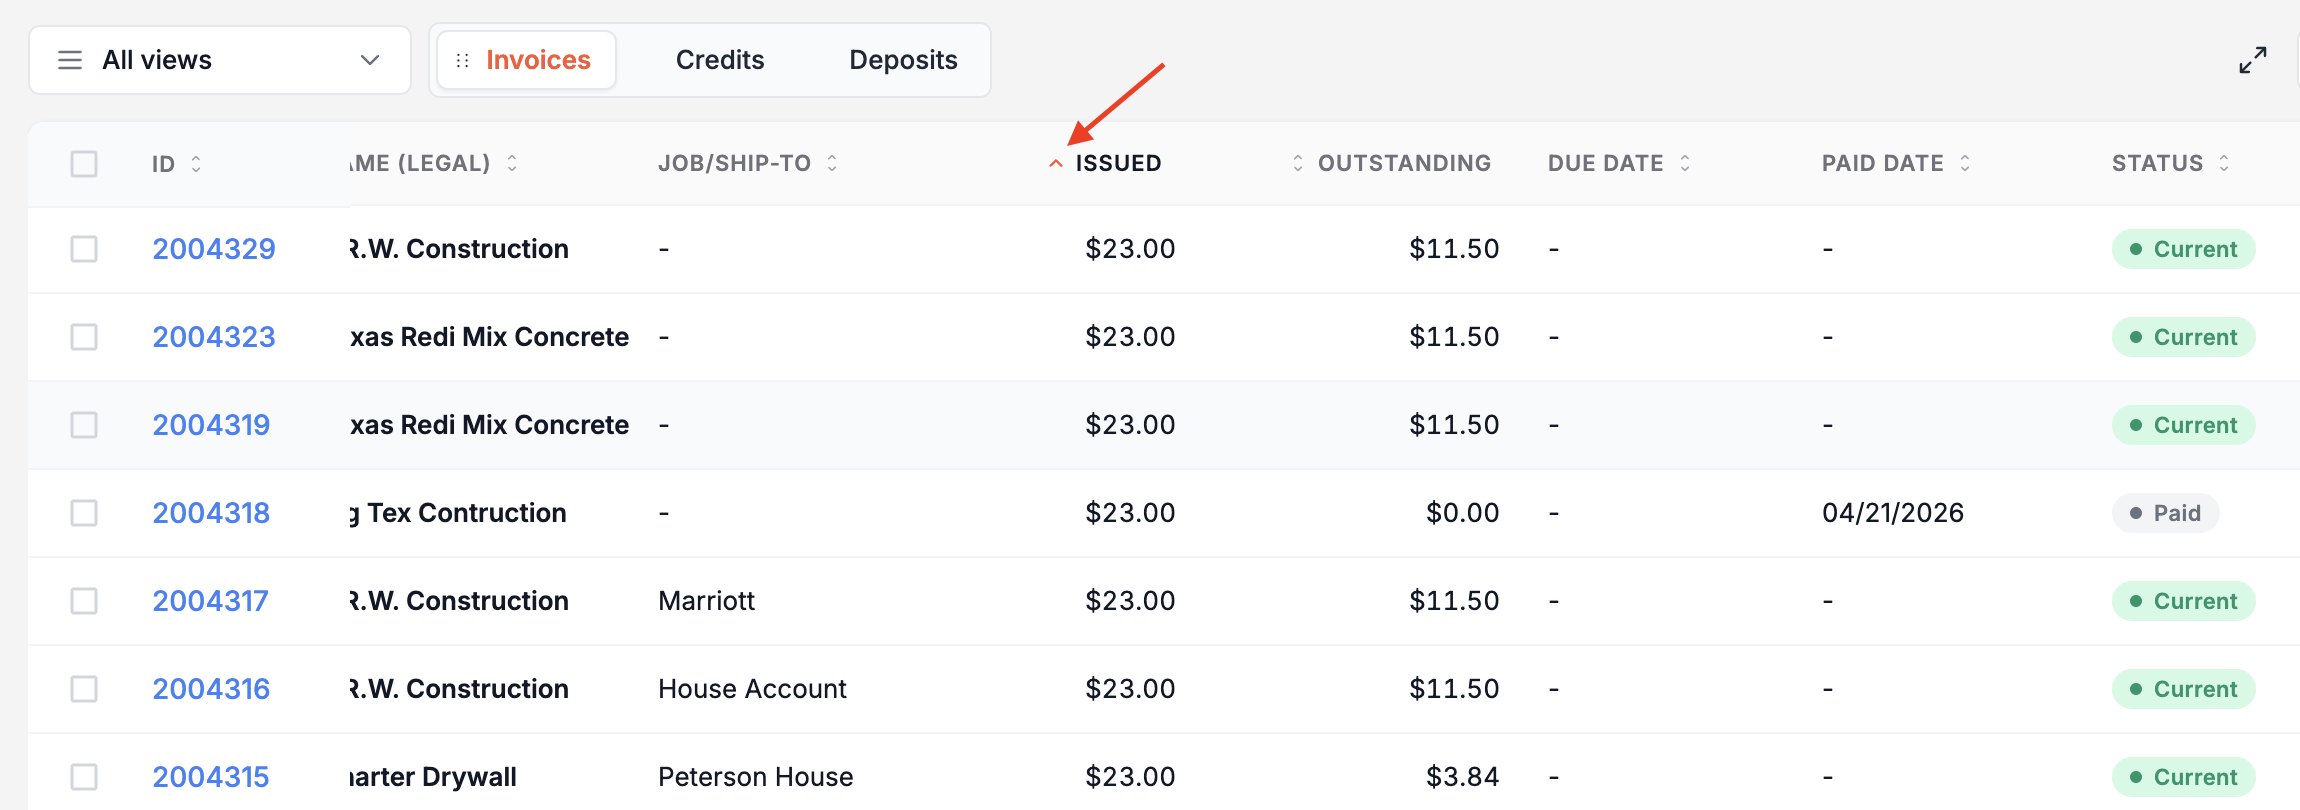
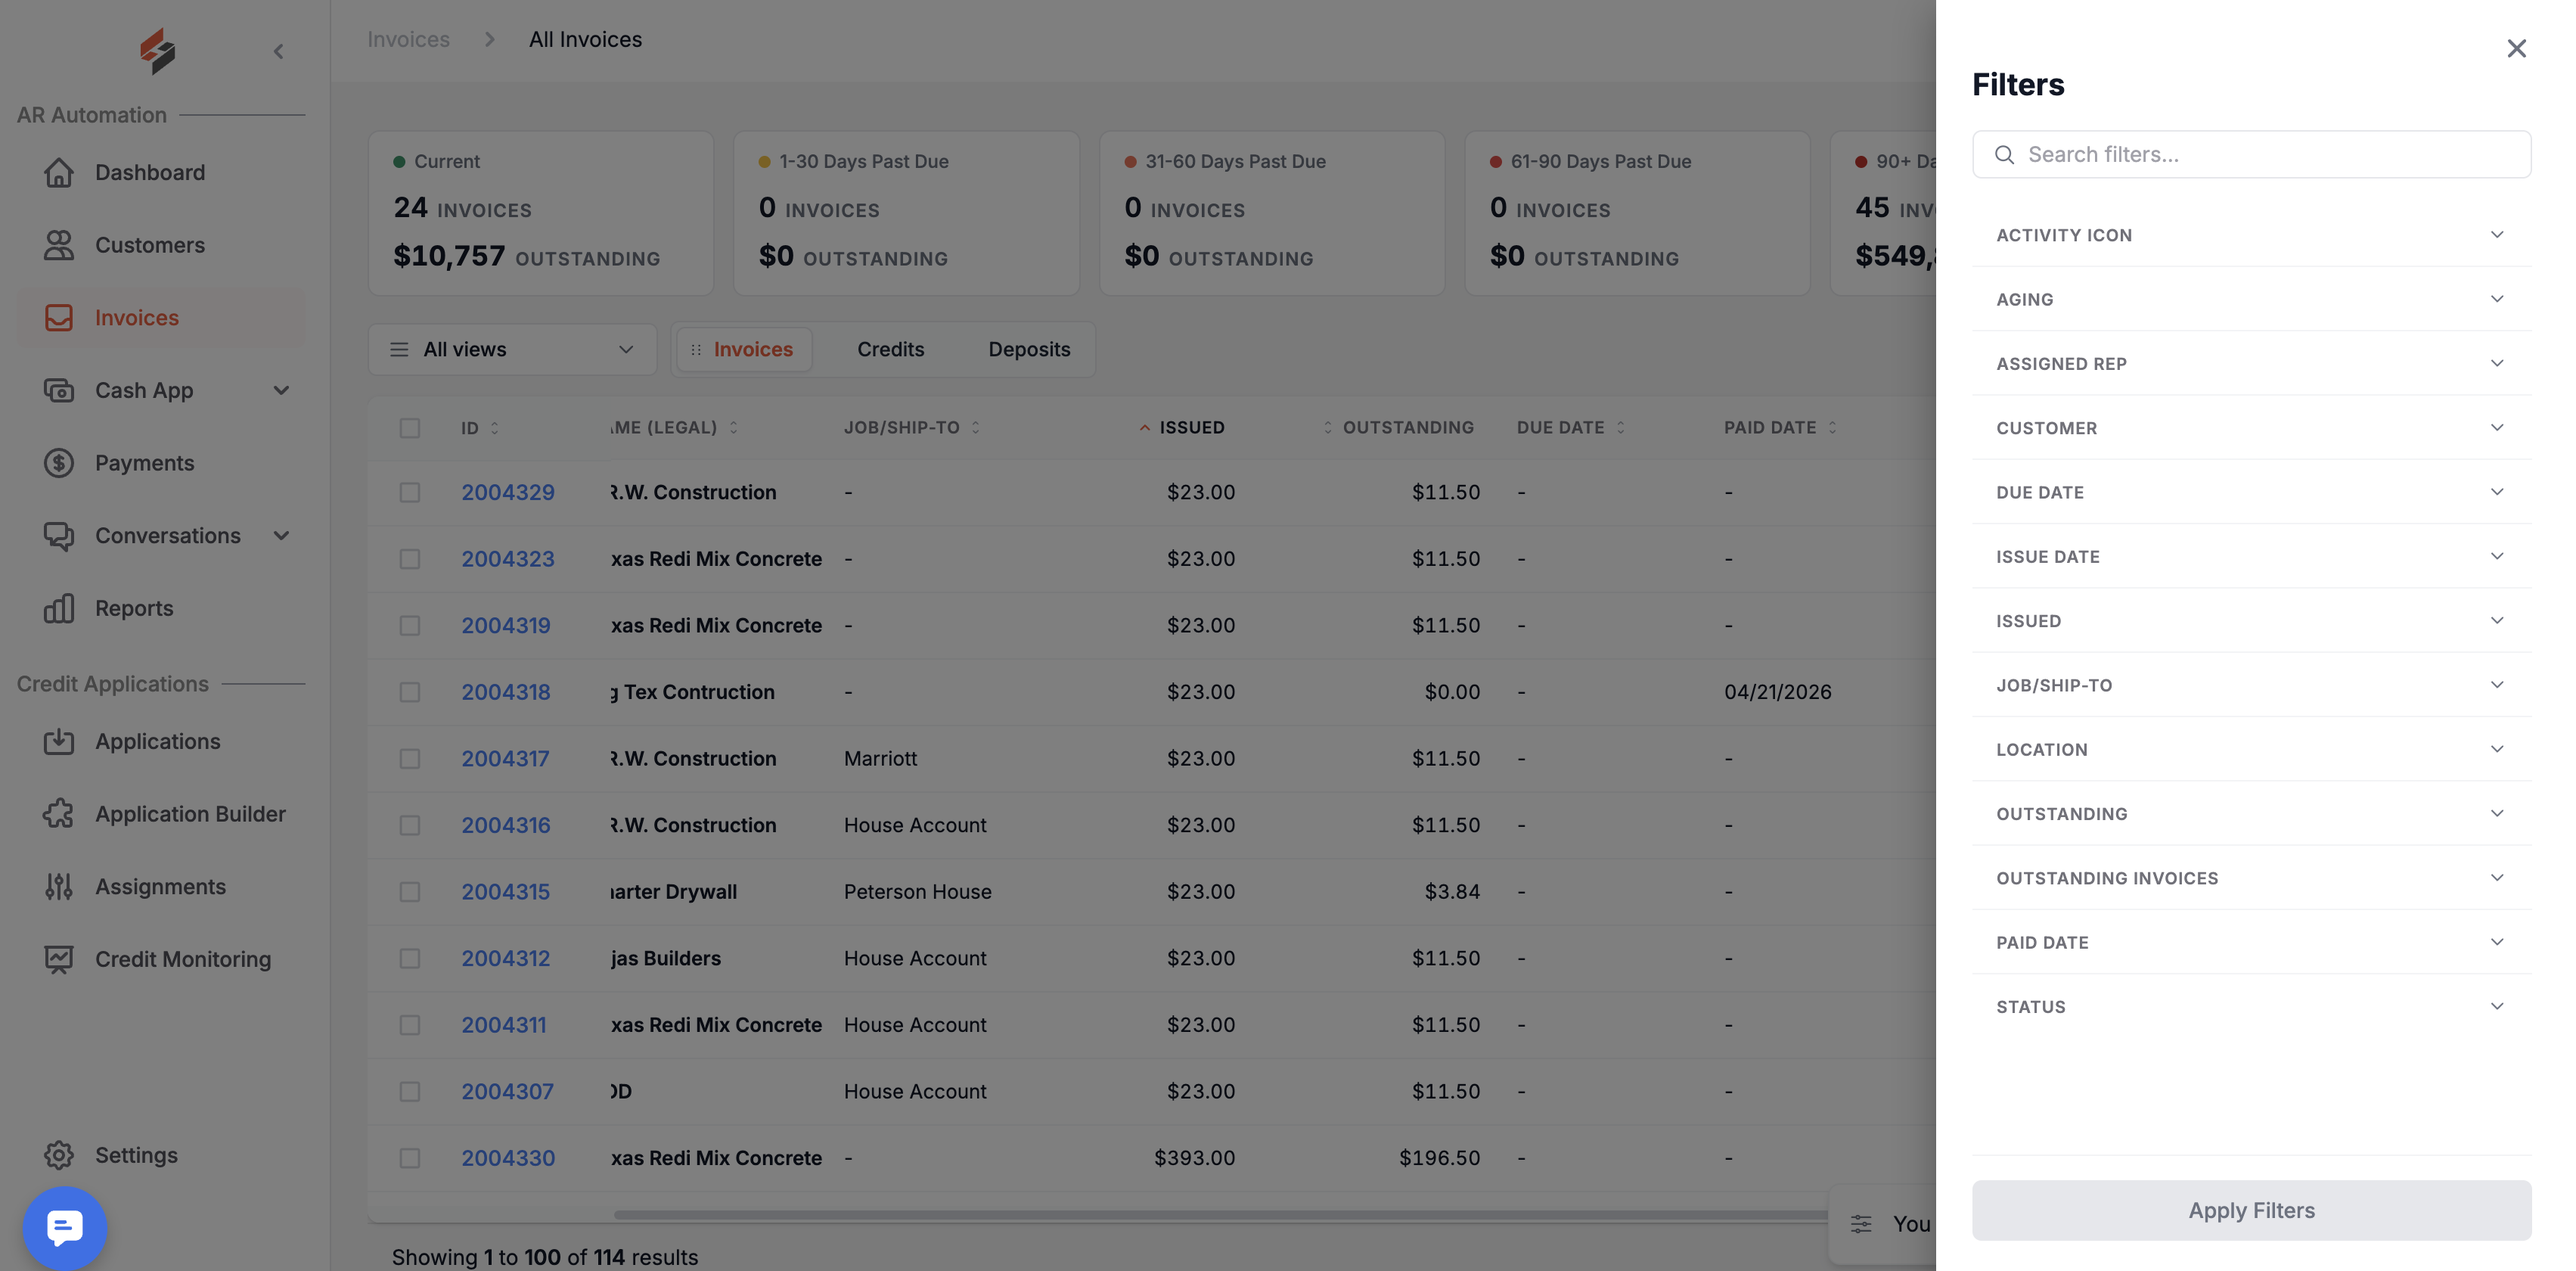
To Filter or Search invoices, click on the "Filters" box at the top-right corner or type in the "Search" box.
Outstanding Invoices: Actions
To perform an action on an invoice, click the three dots on the far right of that row. The following actions will pop up and can be performed on Outstanding Invoices:
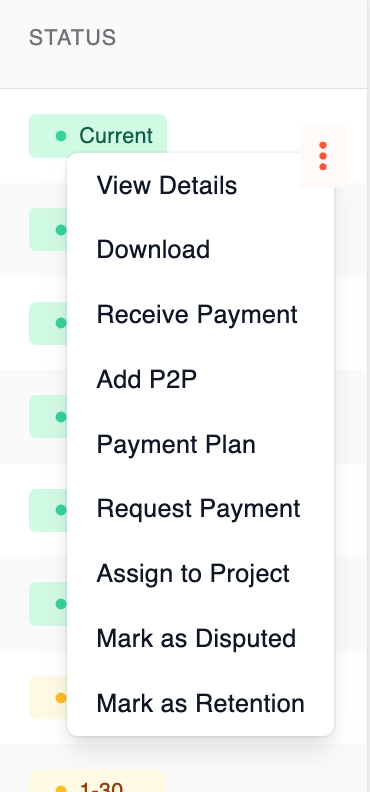
View Details: To open the invoice details sidebar
Download: To download a PDF copy of an invoice
Receive Payment: To run a payment using the Suppli virtual terminal
Add P2P: To create a promise-to-pay
Payment Plan: To create an installment-based payment plan
Request Payment: To send a payment request via email or text
Assign to a Job/Ship-to: To assign an invoice to a customer Job/Ship-to
Mark as Disputed / Resolved: To mark an invoice as disputed or a dispute as resolved
Mark as Retention: To mark an invoice as "Retention"
Issue Refund: To issue a refund for a partial payment on that invoice
Click on the links below for detailed guides on how to perform each of these actions:
Batch Actions
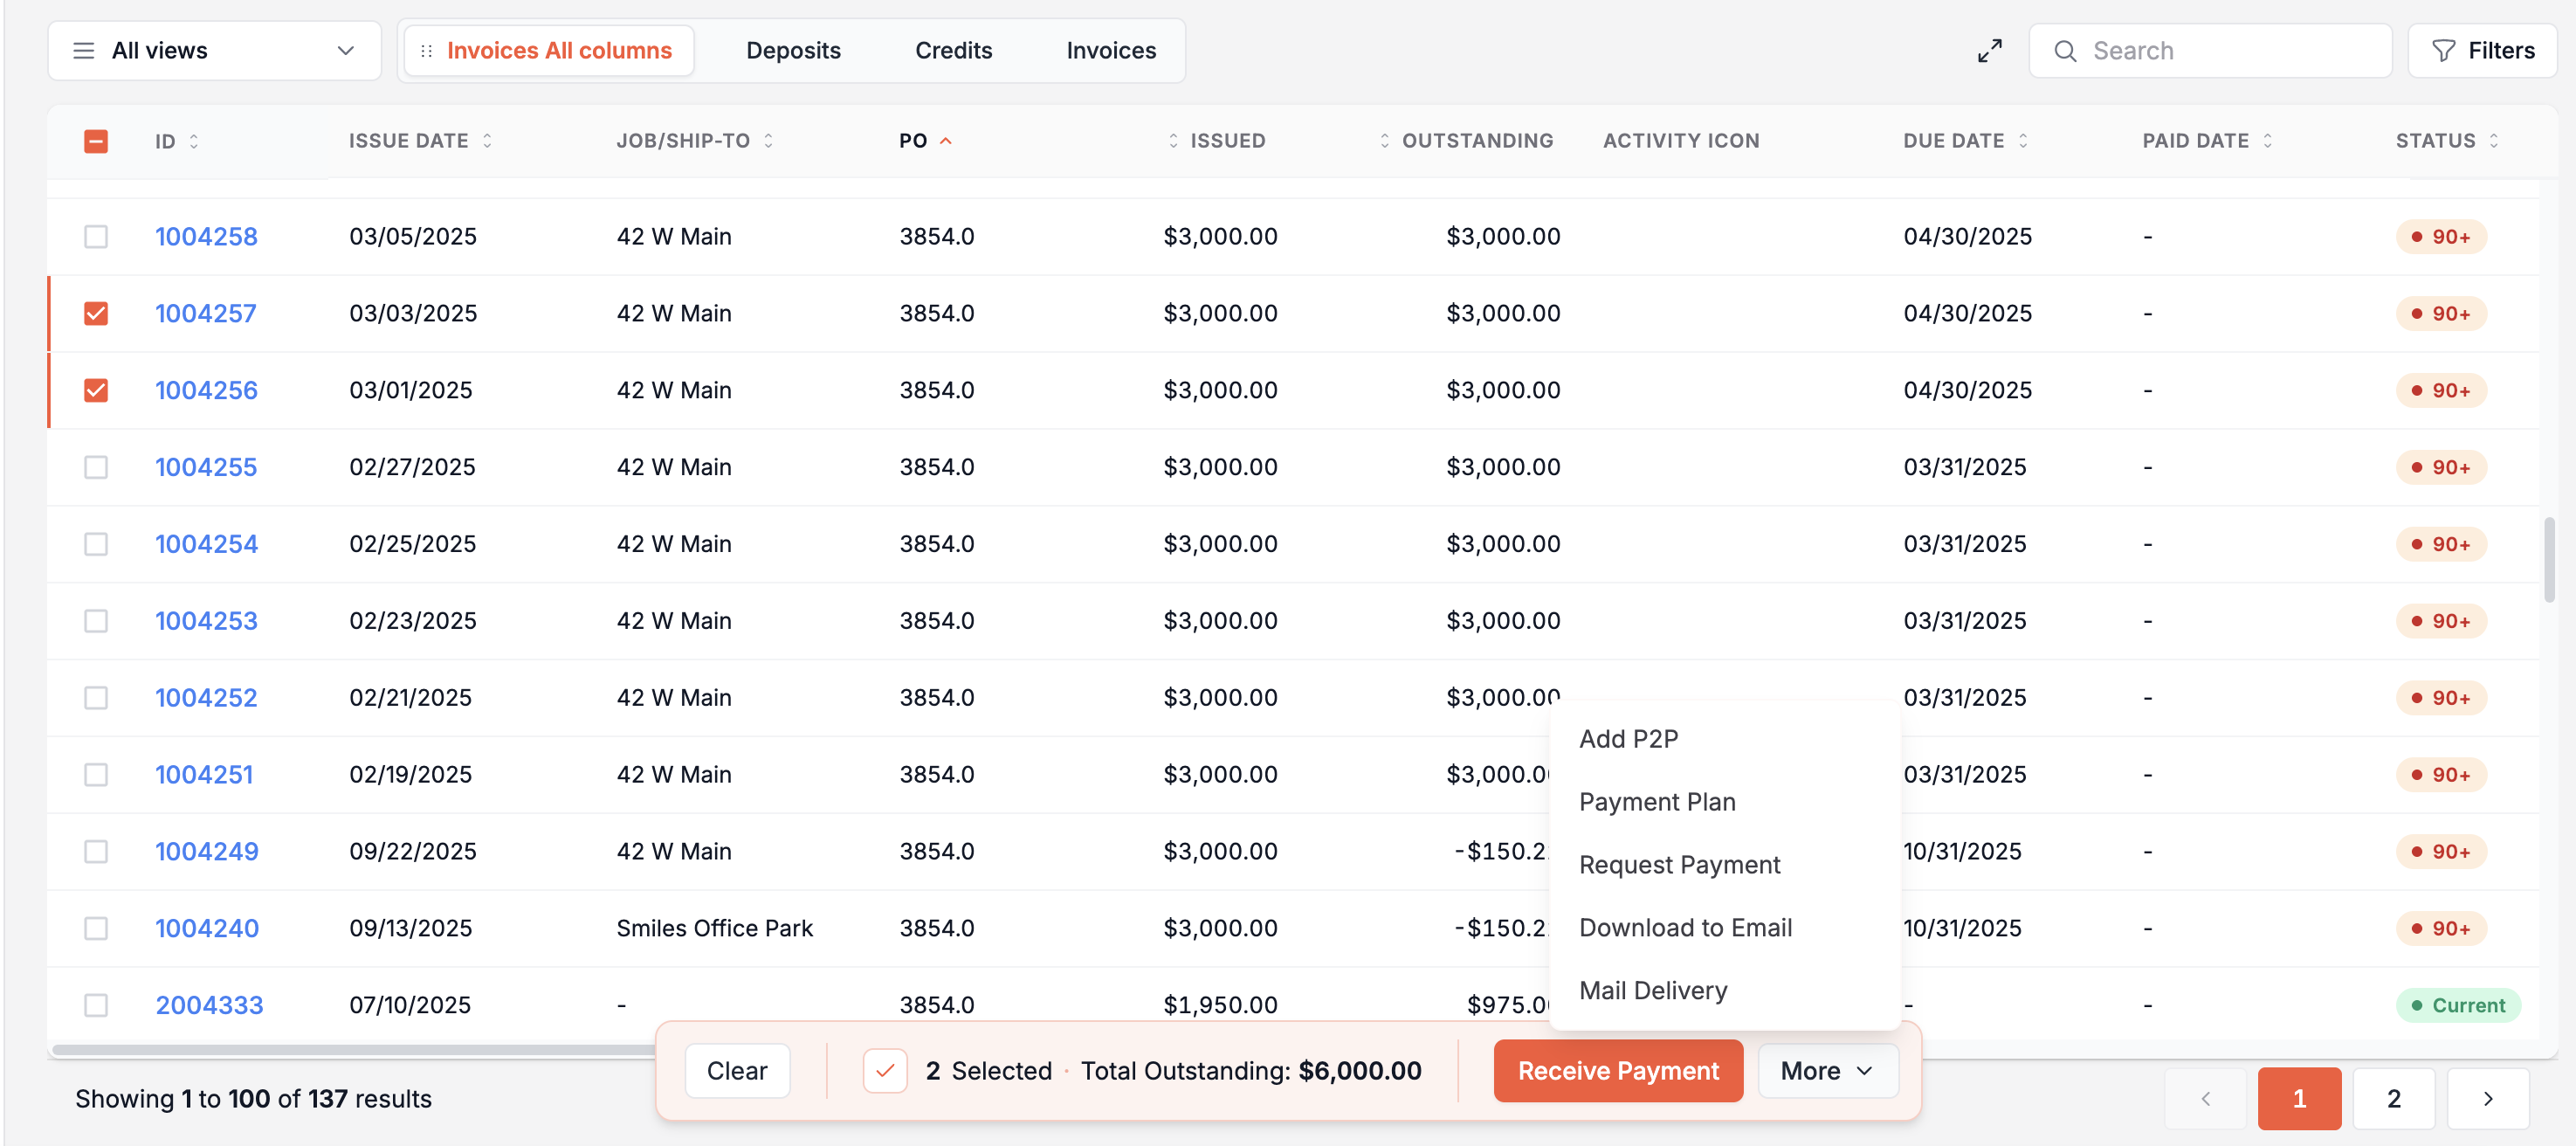
To perform actions across multiple invoices (Batch Actions), click on the selection boxes at the far left of the invoices table. Upon selecting more than one invoice, you will have the ability to perform the following actions:
Download
Receive Payment
Request Payment
Add a Promise-to-Pay (P2P)
Create a Payment Plan
Importantly please note that these actions (with the exception of Download) can only be performed on invoices belonging to one customer.
Action Item Icons
Once an action has been performed, you will notice that certain Action Item Icons will appear to the right of the Outstanding column within the Outstanding Invoices table. As the name suggests, these icons are there to provide you with a quick visualization of actions performed across invoices.
Payment Plan: Invoices that have a pending or active payment plan. This is indicated by an icon depicting a green clipboard with a checkmark on it
Pending Payment: Invoices that have a pending payment. This is indicated by an icon depicting two orange arrows facing right (similar to a "fast forward" icon)
Dispute: Invoices that have an open dispute. This is indicated by an icon depicting a hand
Promise-to-Pay (P2P): Invoices that have an active P2P. This is indicated by an icon depicting two overlapping orange rectangles
Finance Charges: Invoices that have any unpaid finance charges associated with them. Finance Charges are imported from your ERP. This is indicated by an icon with the letters FC inside an orange circle
Retention: Invoices that marked as retention
Outstanding Invoices: Sidebars
To open an invoice sidebar, hover over a row, click on the three dots found on the far right of the invoice table, and click "View Details."
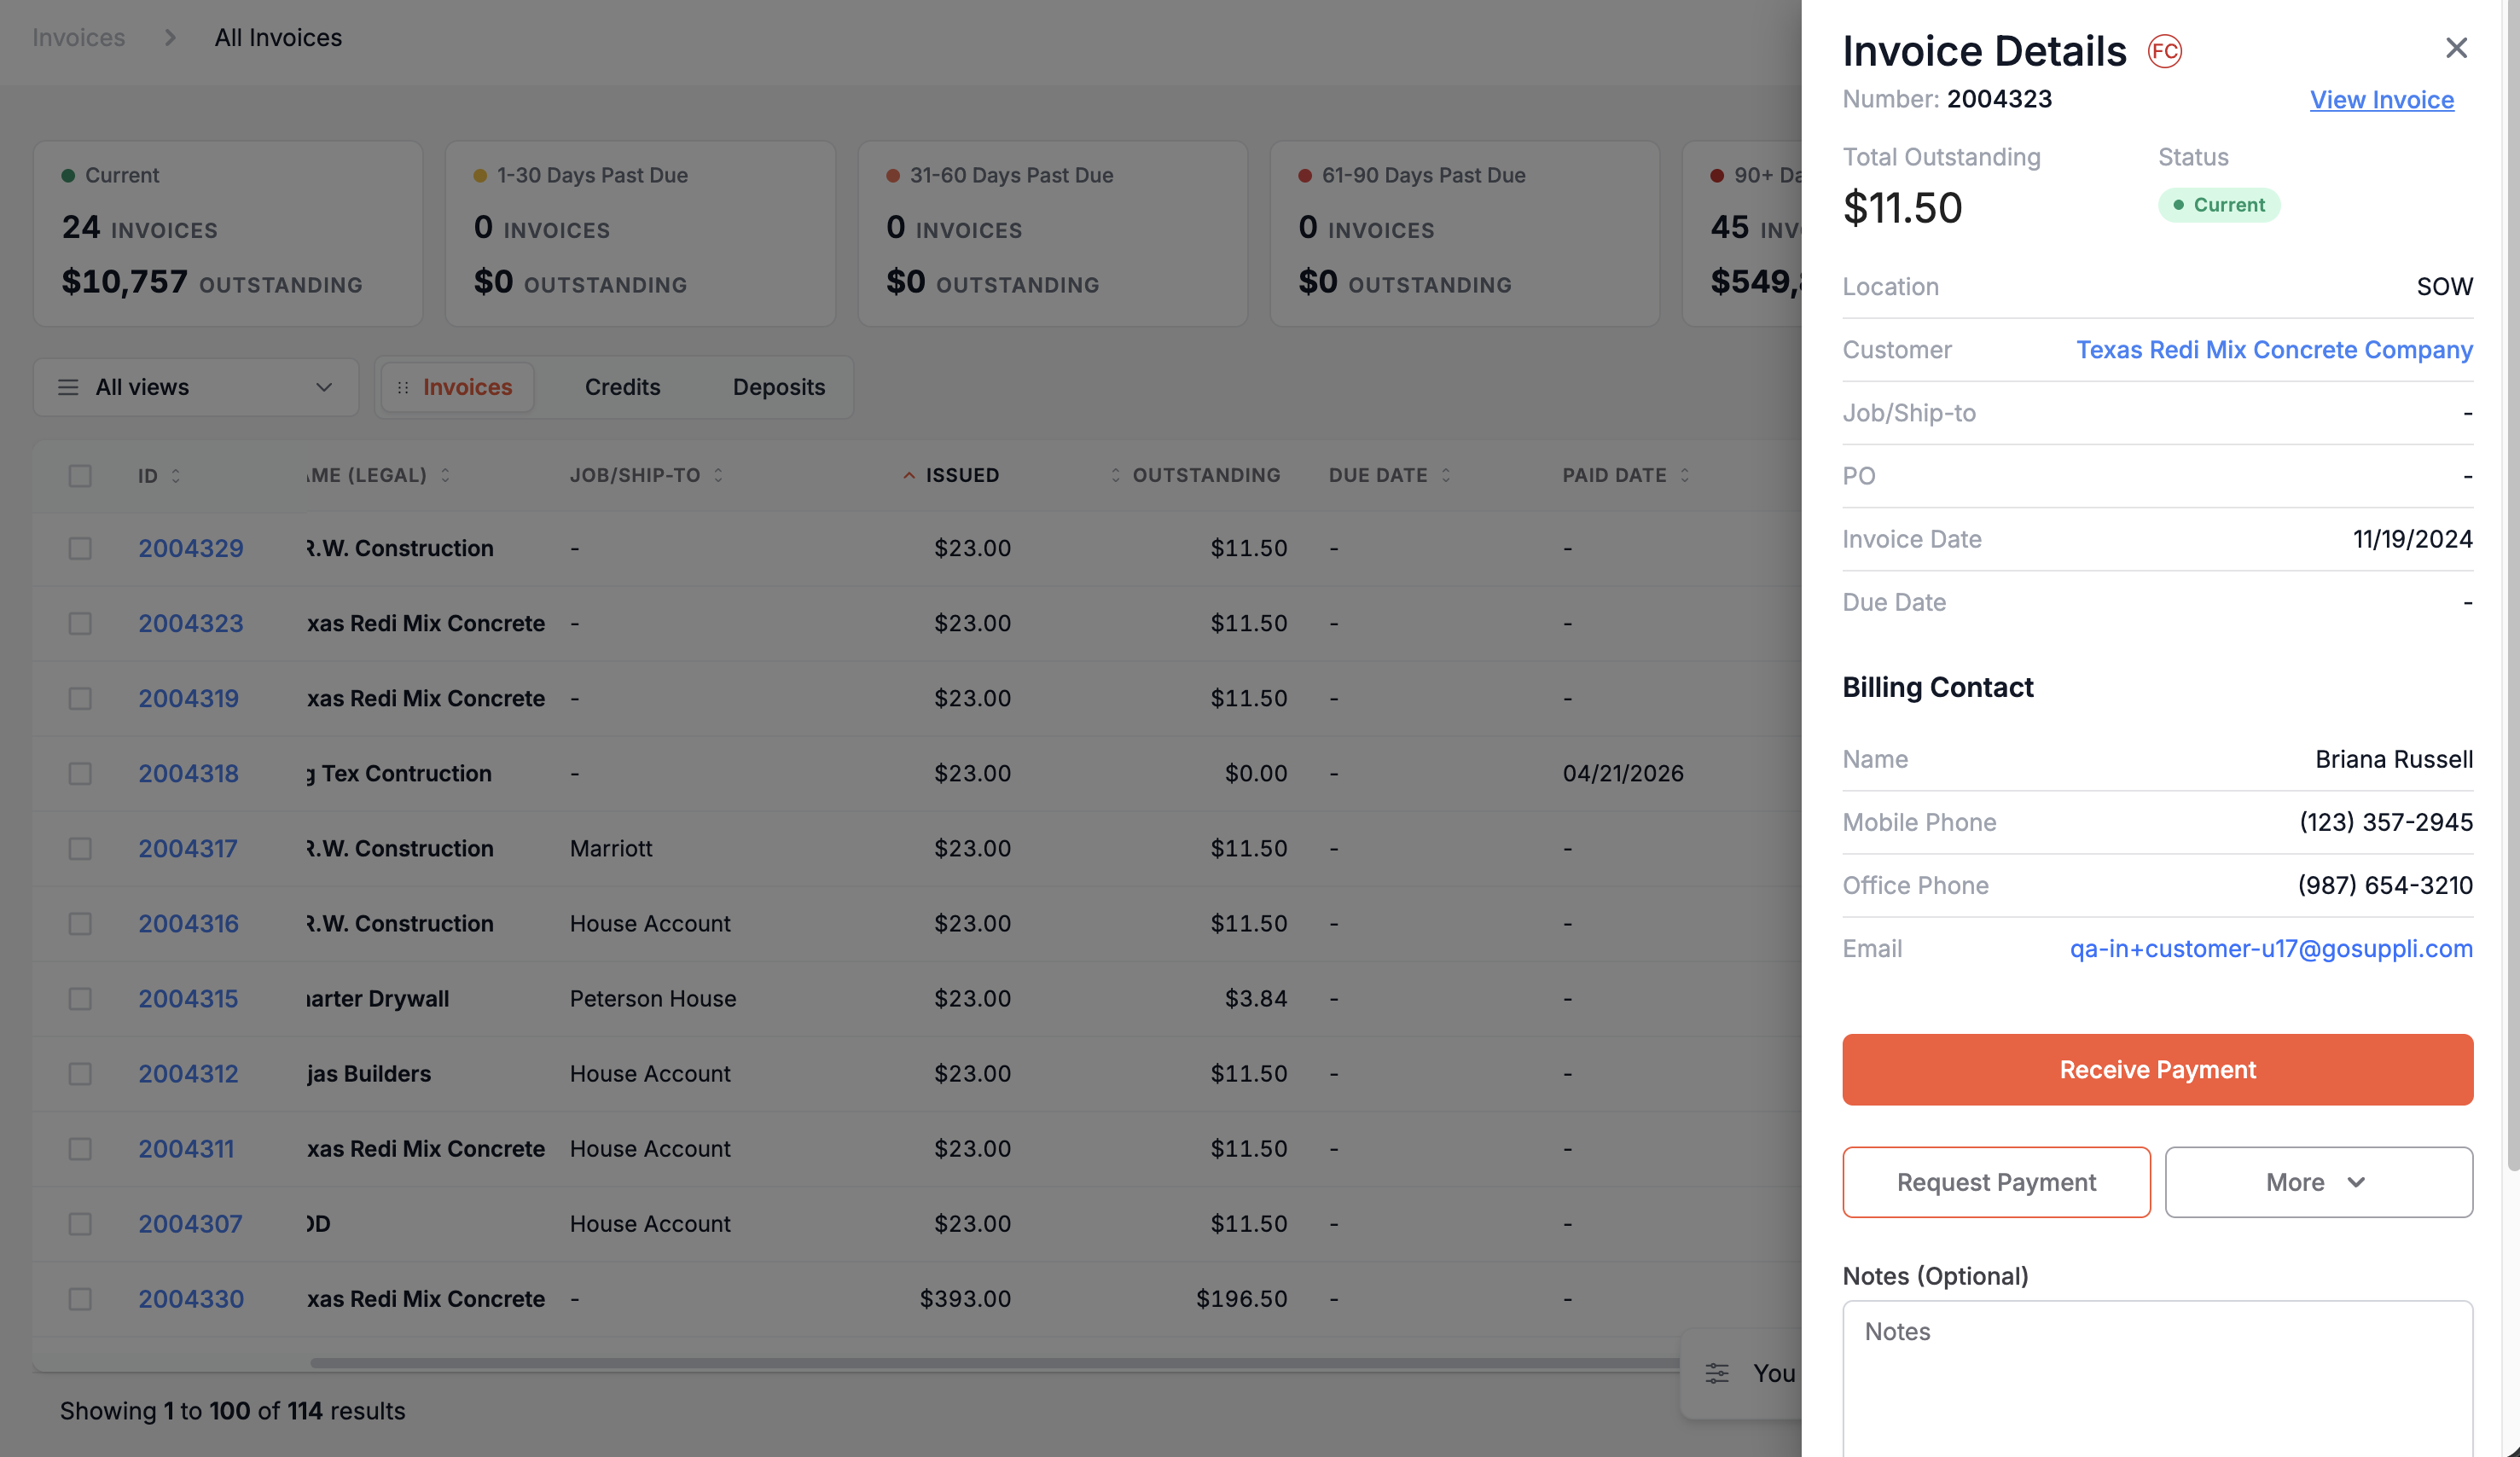
Upon doing this, a sidebar will appear. Each invoice sidebar can be broken up into the following sections:
Invoice Details
Invoice Actions & Notes
Invoice Activity
Invoice Details
The Invoice Details section provides an overview of key information related to an invoice and the ability to quickly perform actions. To jump to a customer or Job/Ship-to, simply click on the customer/Job/Ship-to name.
Invoice Actions & Notes
The Invoice Actions & Notes section is where you can take any of the actions possible on a single invoice. You can also add optional notes to the invoice.
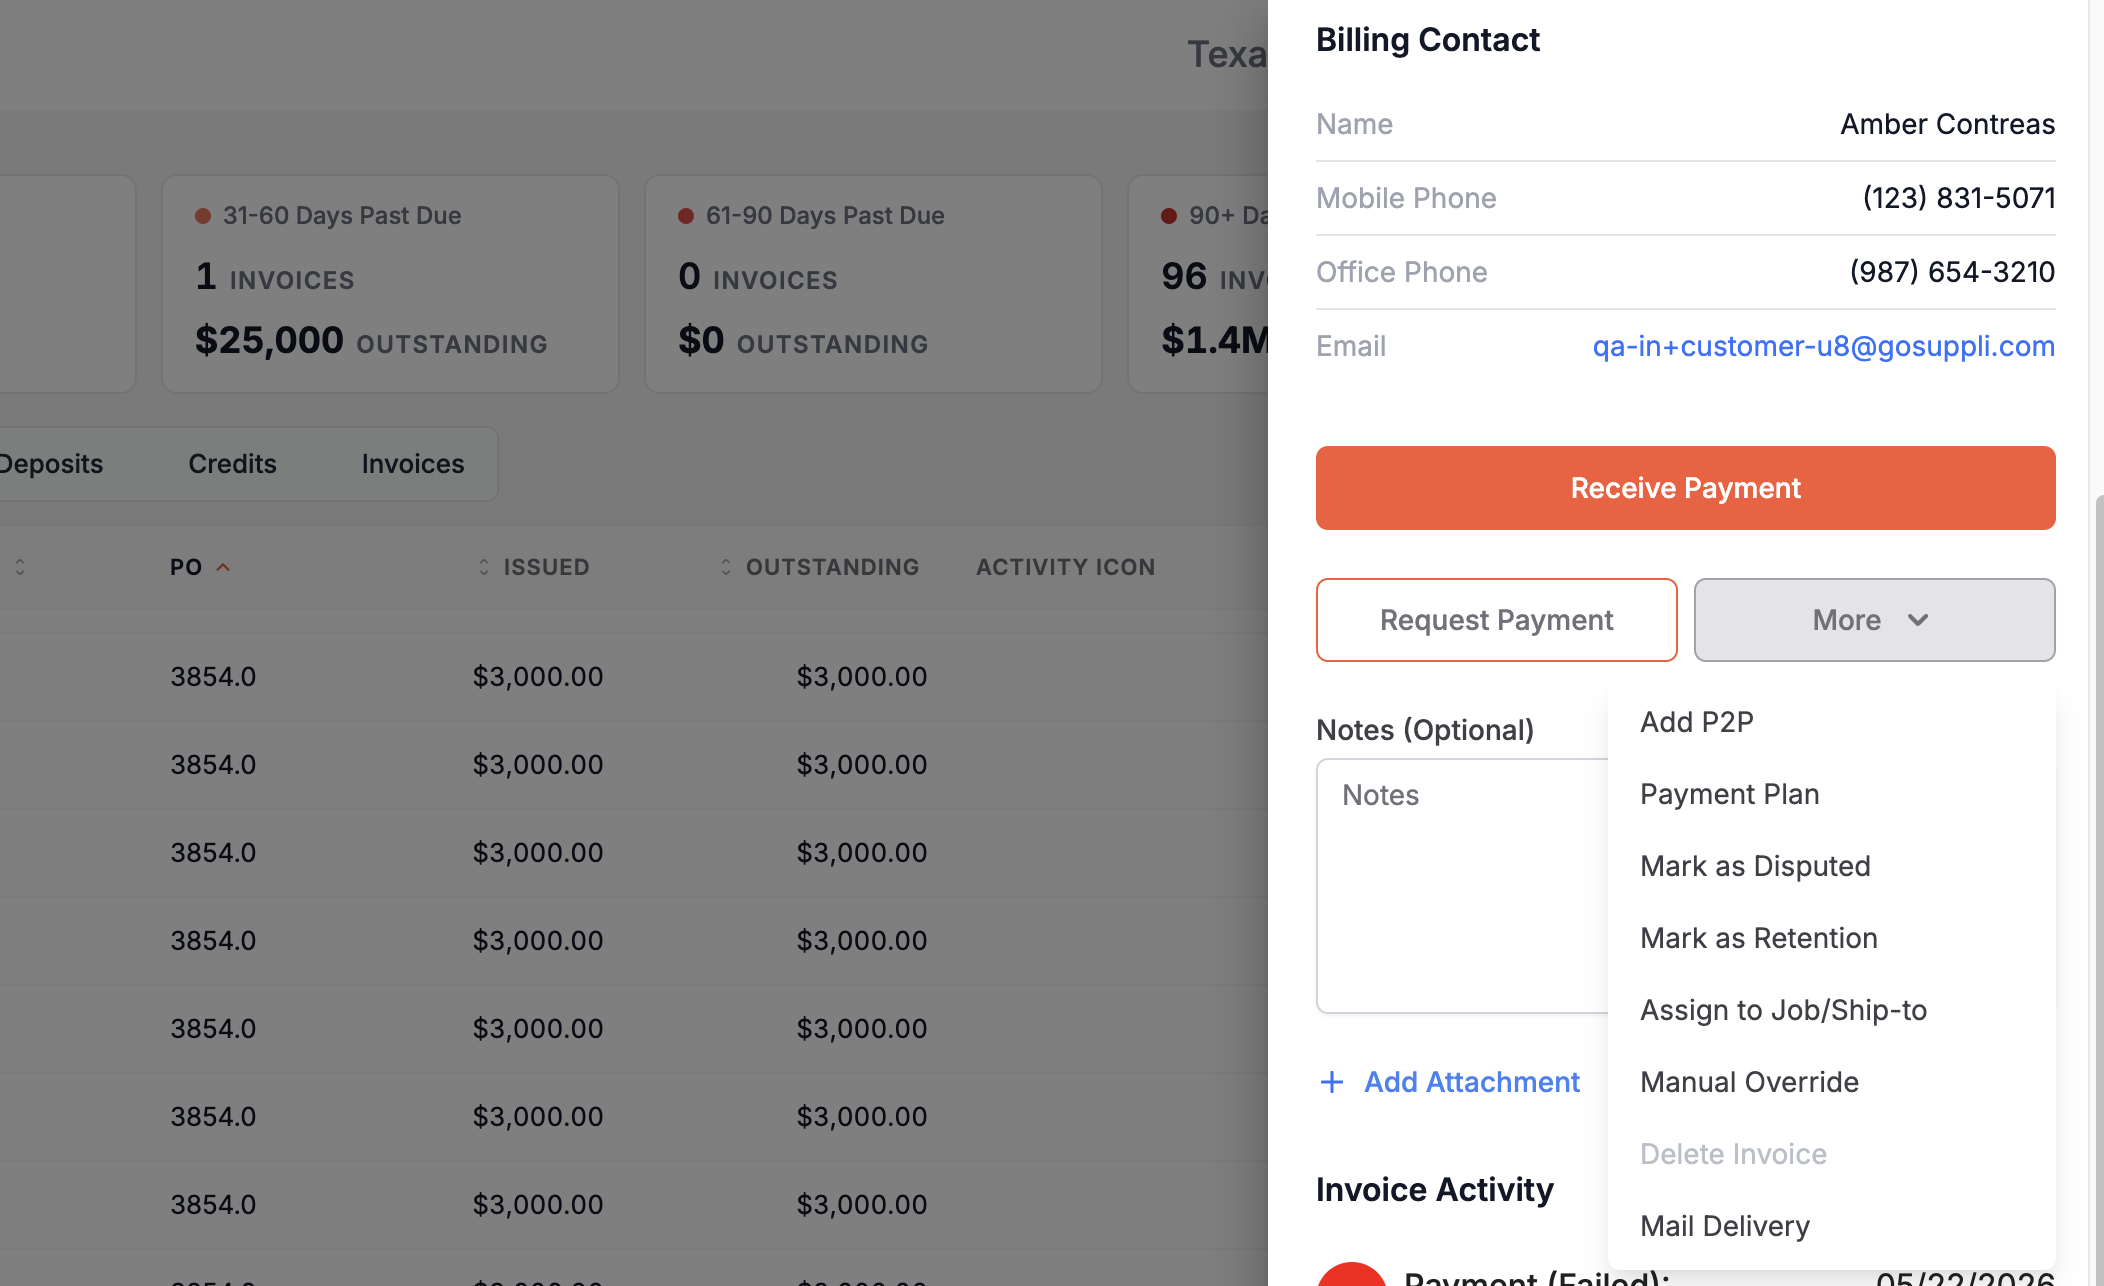
Invoice Activity Timeline
Each sidebar contains an Activity Timeline to provide you with a quick visualization of the following activity that has taken place on an invoice.
Invoice Date: The date an invoice was issued
Invoice Due Date: The date an invoice is due
Payments: All pending, successful, failed, and voided payments
Refunds: All pending, successful, and failed refunds
Disputes: All open and resolved disputes
P2Ps: All active, completed, expired, and cancelled P2Ps
Payment Plans: All sent, active, completed, and cancelled payment plans
To view more information on a particular activity, click the Activity ID.
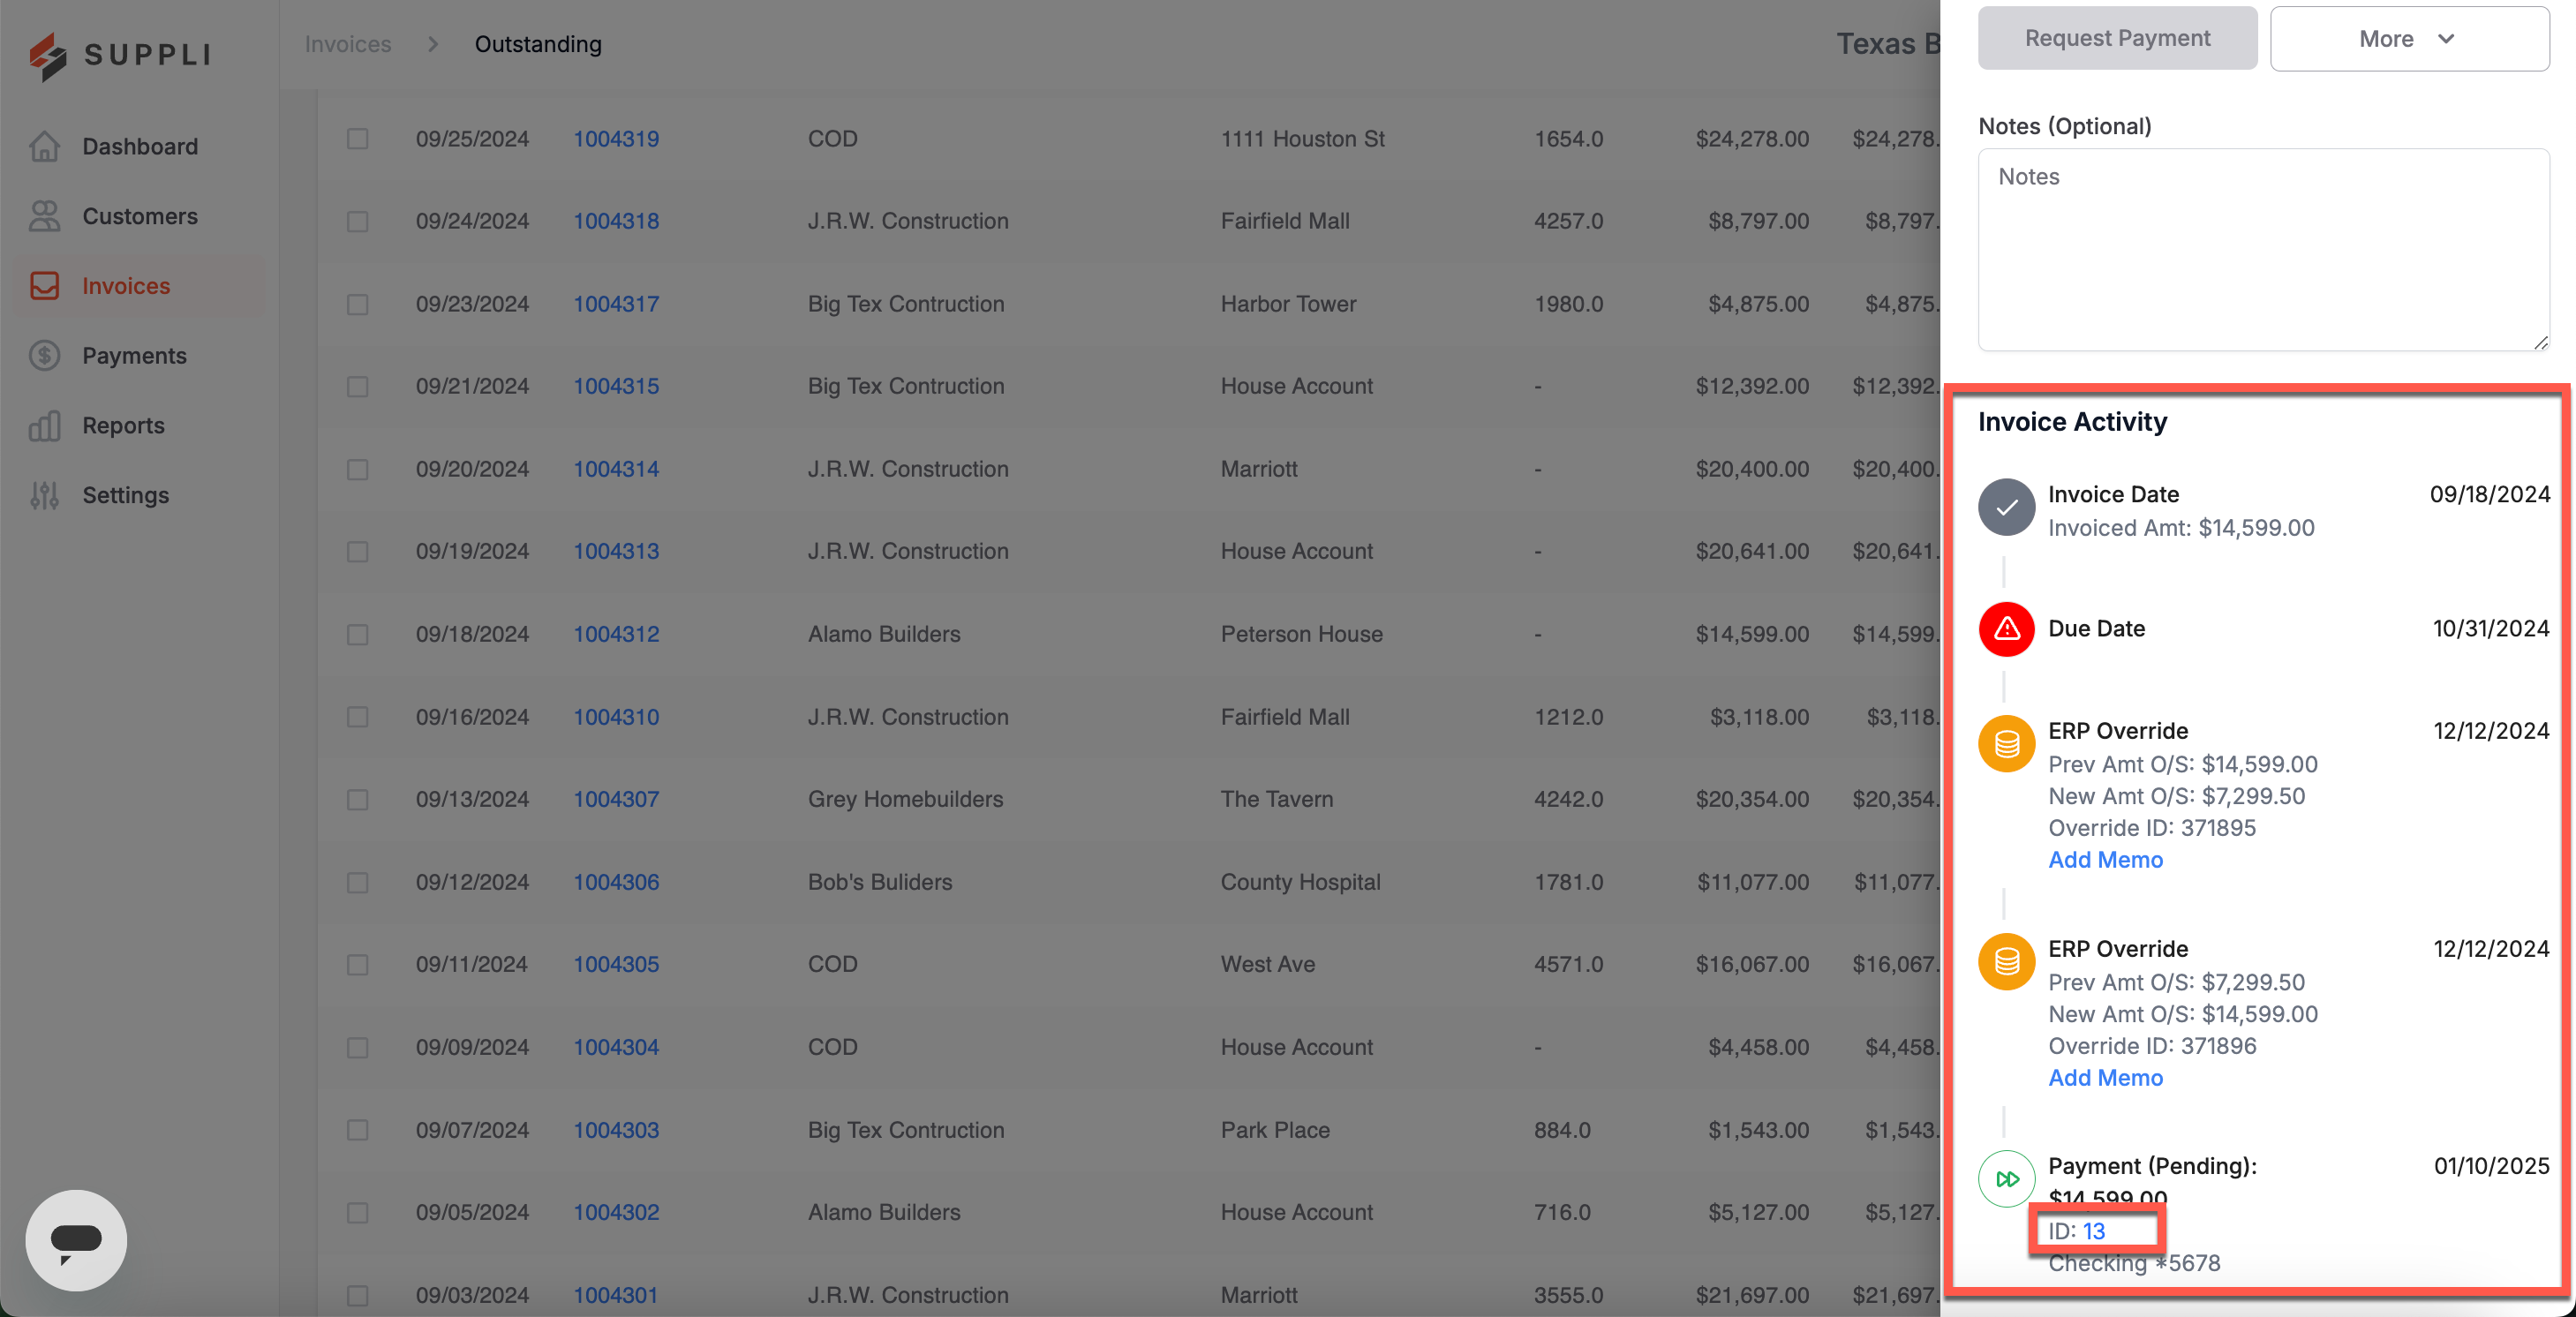
Mark as Retention
To Mark as Retention, you first need to select an invoice from the Outstanding Invoices table. This can be found in either the Invoices or Customers sections.
When hovering over a row, simply click on the icon with three orange dots on the right-hand side of the table. Next, select "Mark as Retention" from the dropdown list that appears.
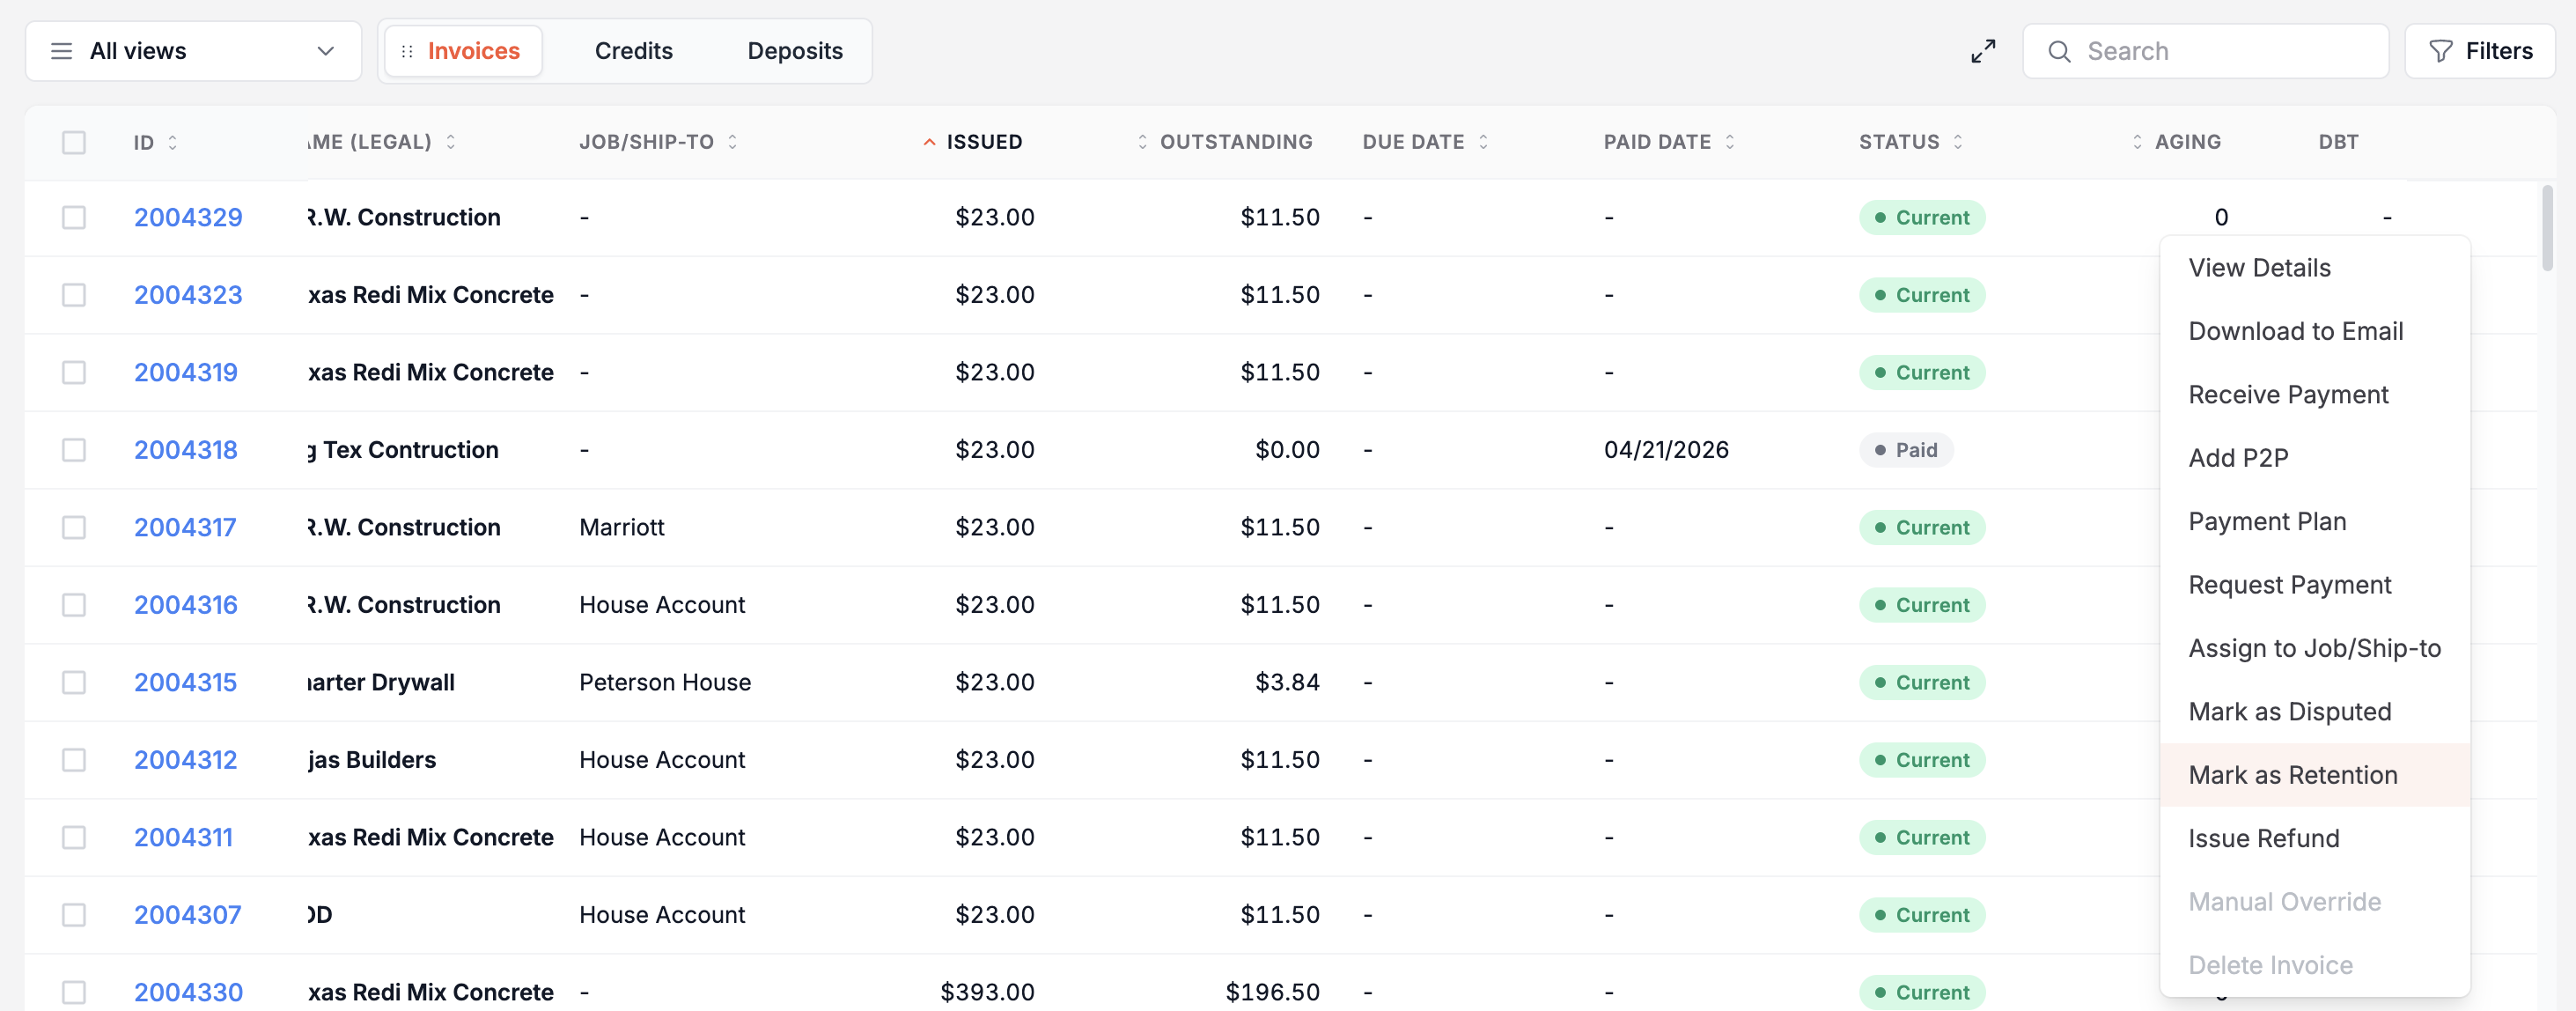
You can also Mark as Retention from the "More" button found in the outstanding invoice sidebar.
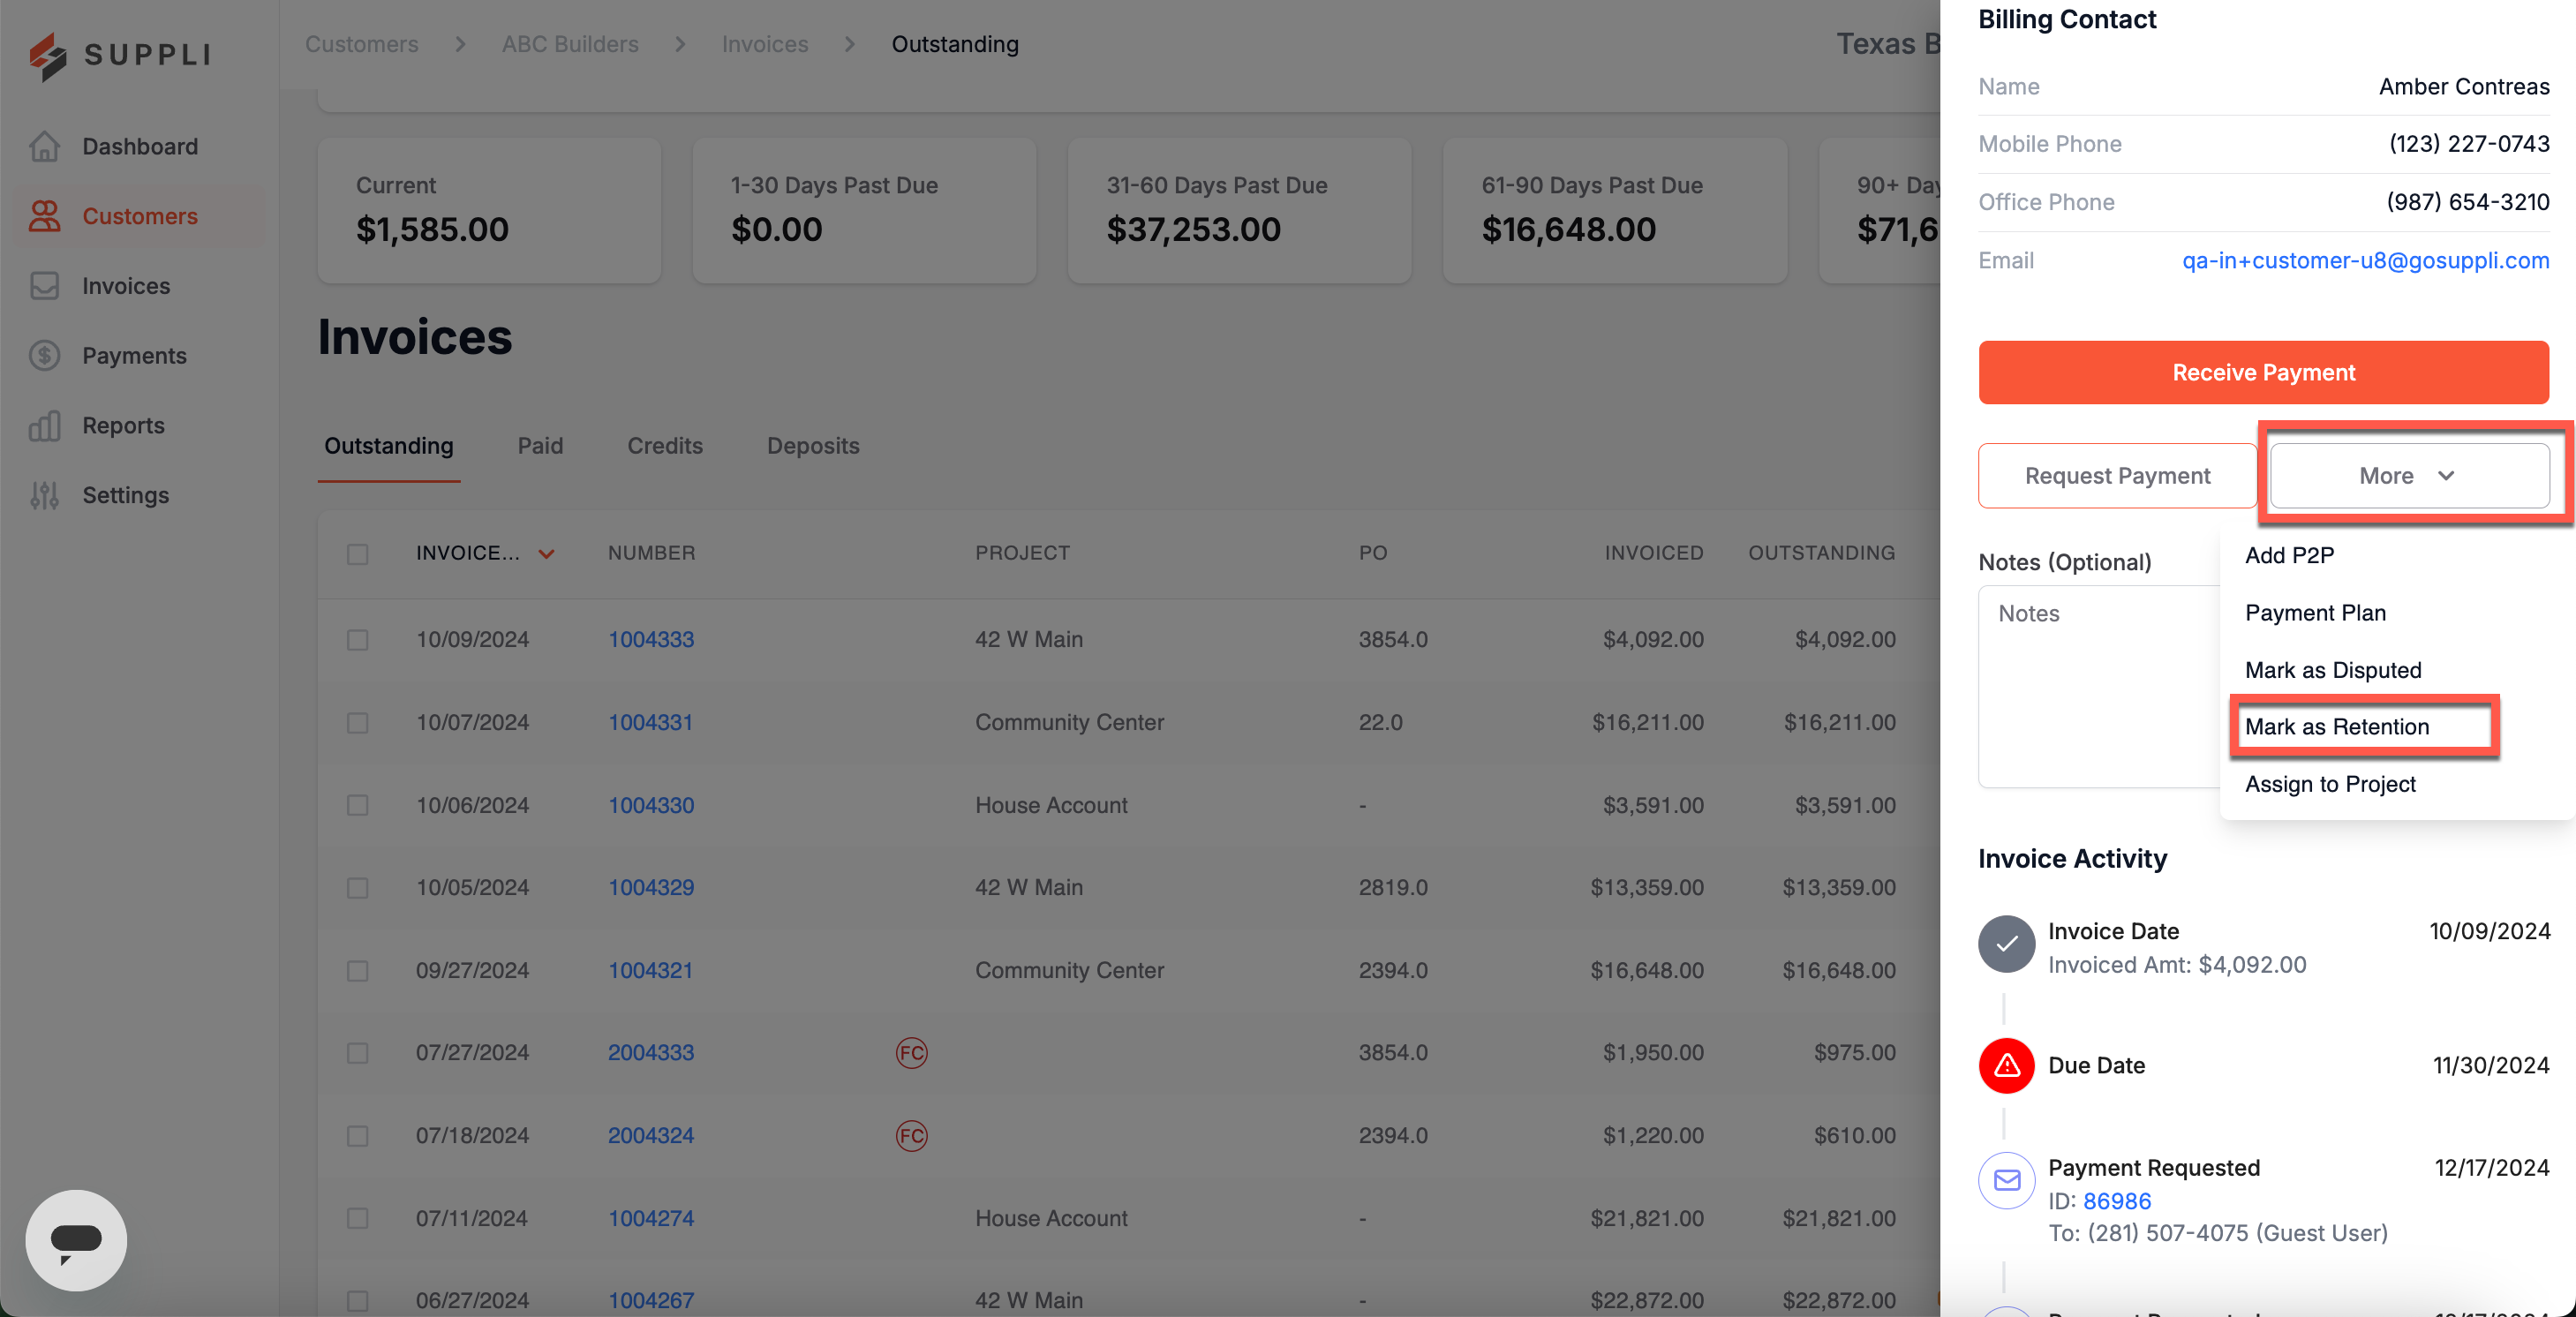
Invoices marked as retention will be indicated with a retention icon on Activity Icon column.
Invoices marked as retention will also be excluded from customer past-due reminders.
Unmark as Retention
Once an invoice has been marked as retention, it can be "unmarked as retention" by clicking on the same three orange dots on the table's right-hand side or "More" on the outstanding invoice sidebar.
Assign an Invoice to a Job/Ship-to
Suppli allows you to organize your invoices by customer Job/Ship-to.
Invoices are automatically tagged to Job/Ship-to in Suppli based on how you define Job/Ship-to in your ERP. For example, this could be done by the Job/Ship-to, PO, or reference field. This field mapping is done during your onboarding.
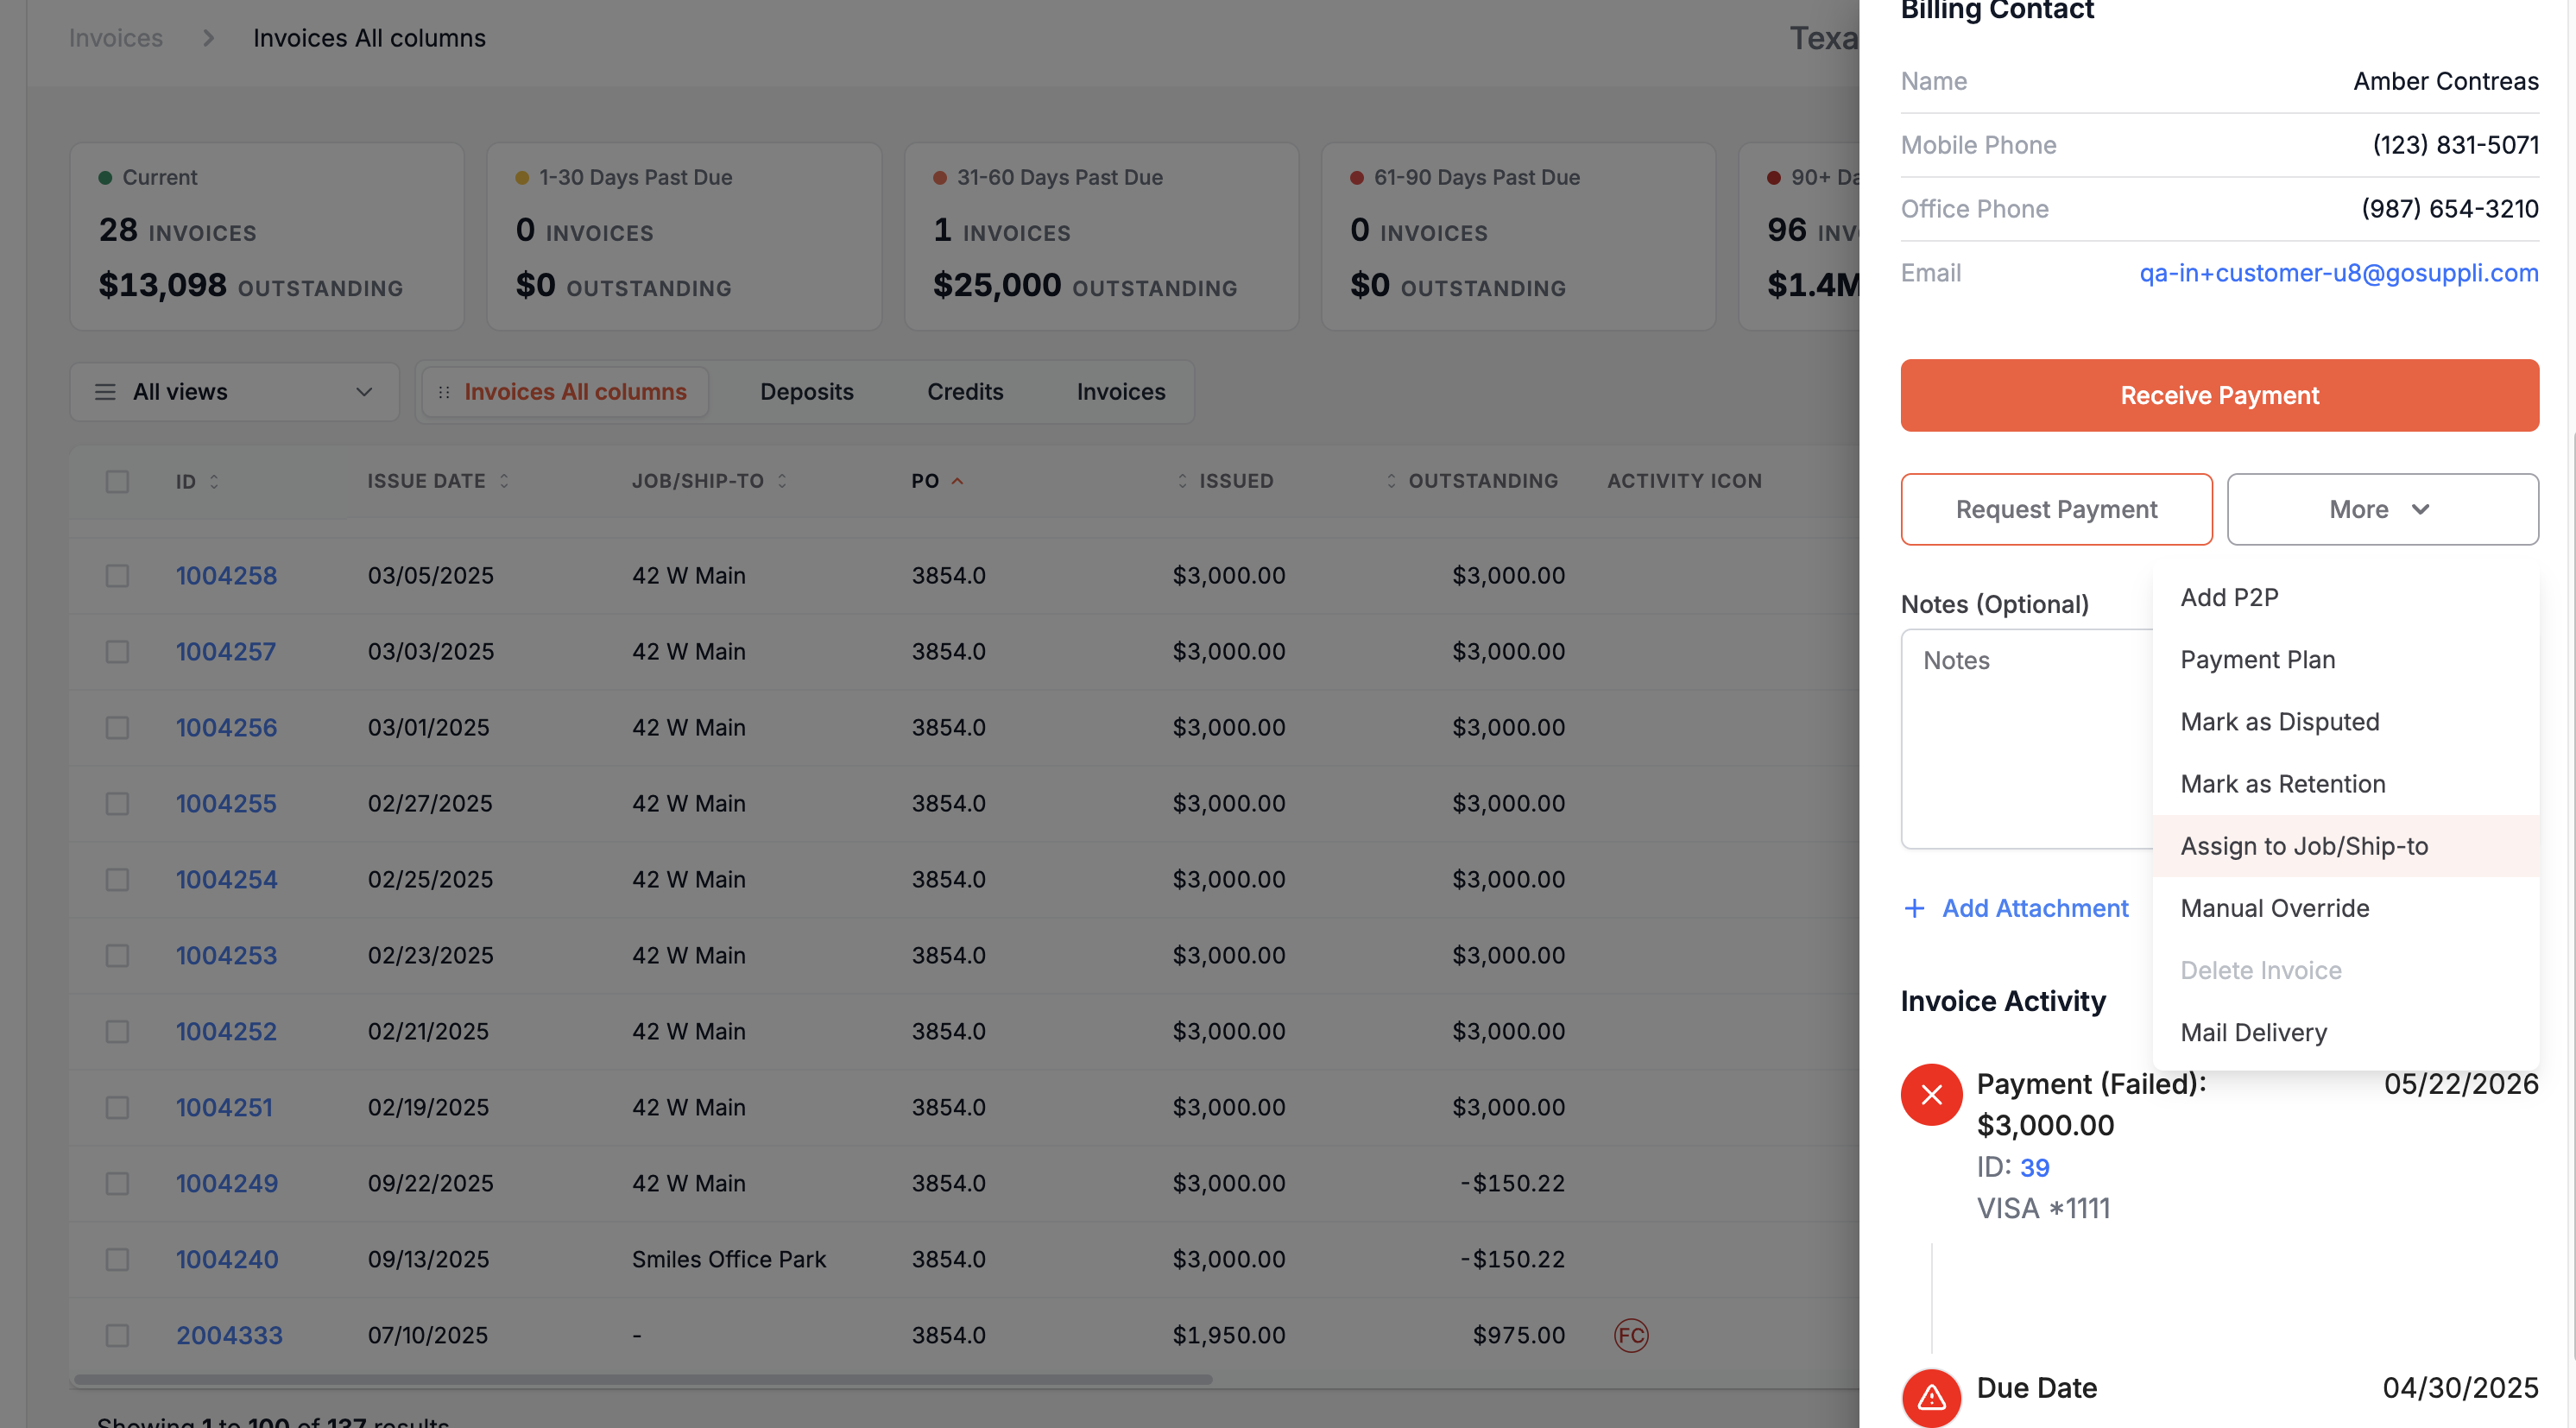
You can also manually tag an invoice to a Job/Ship-to. When hovering over a row, simply click on the icon with three orange dots on the right-hand side of the table. Next, select "Assign to Job/Ship-to" from the dropdown list that appears.
You can also assign an invoice using the Invoice Details Sidebar. Click on the More button and choose Assign to Job/Ship-to.
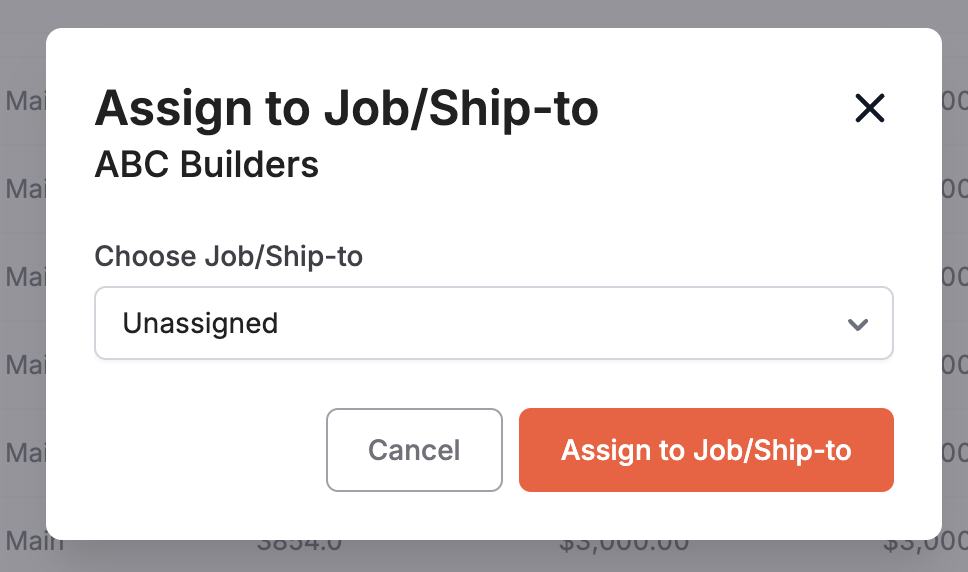
In the modal that pops up, select a Job/Ship-to from the drop-down list and click Assign to Job/Ship-to.
Editing the Details of a Job/Ship-to
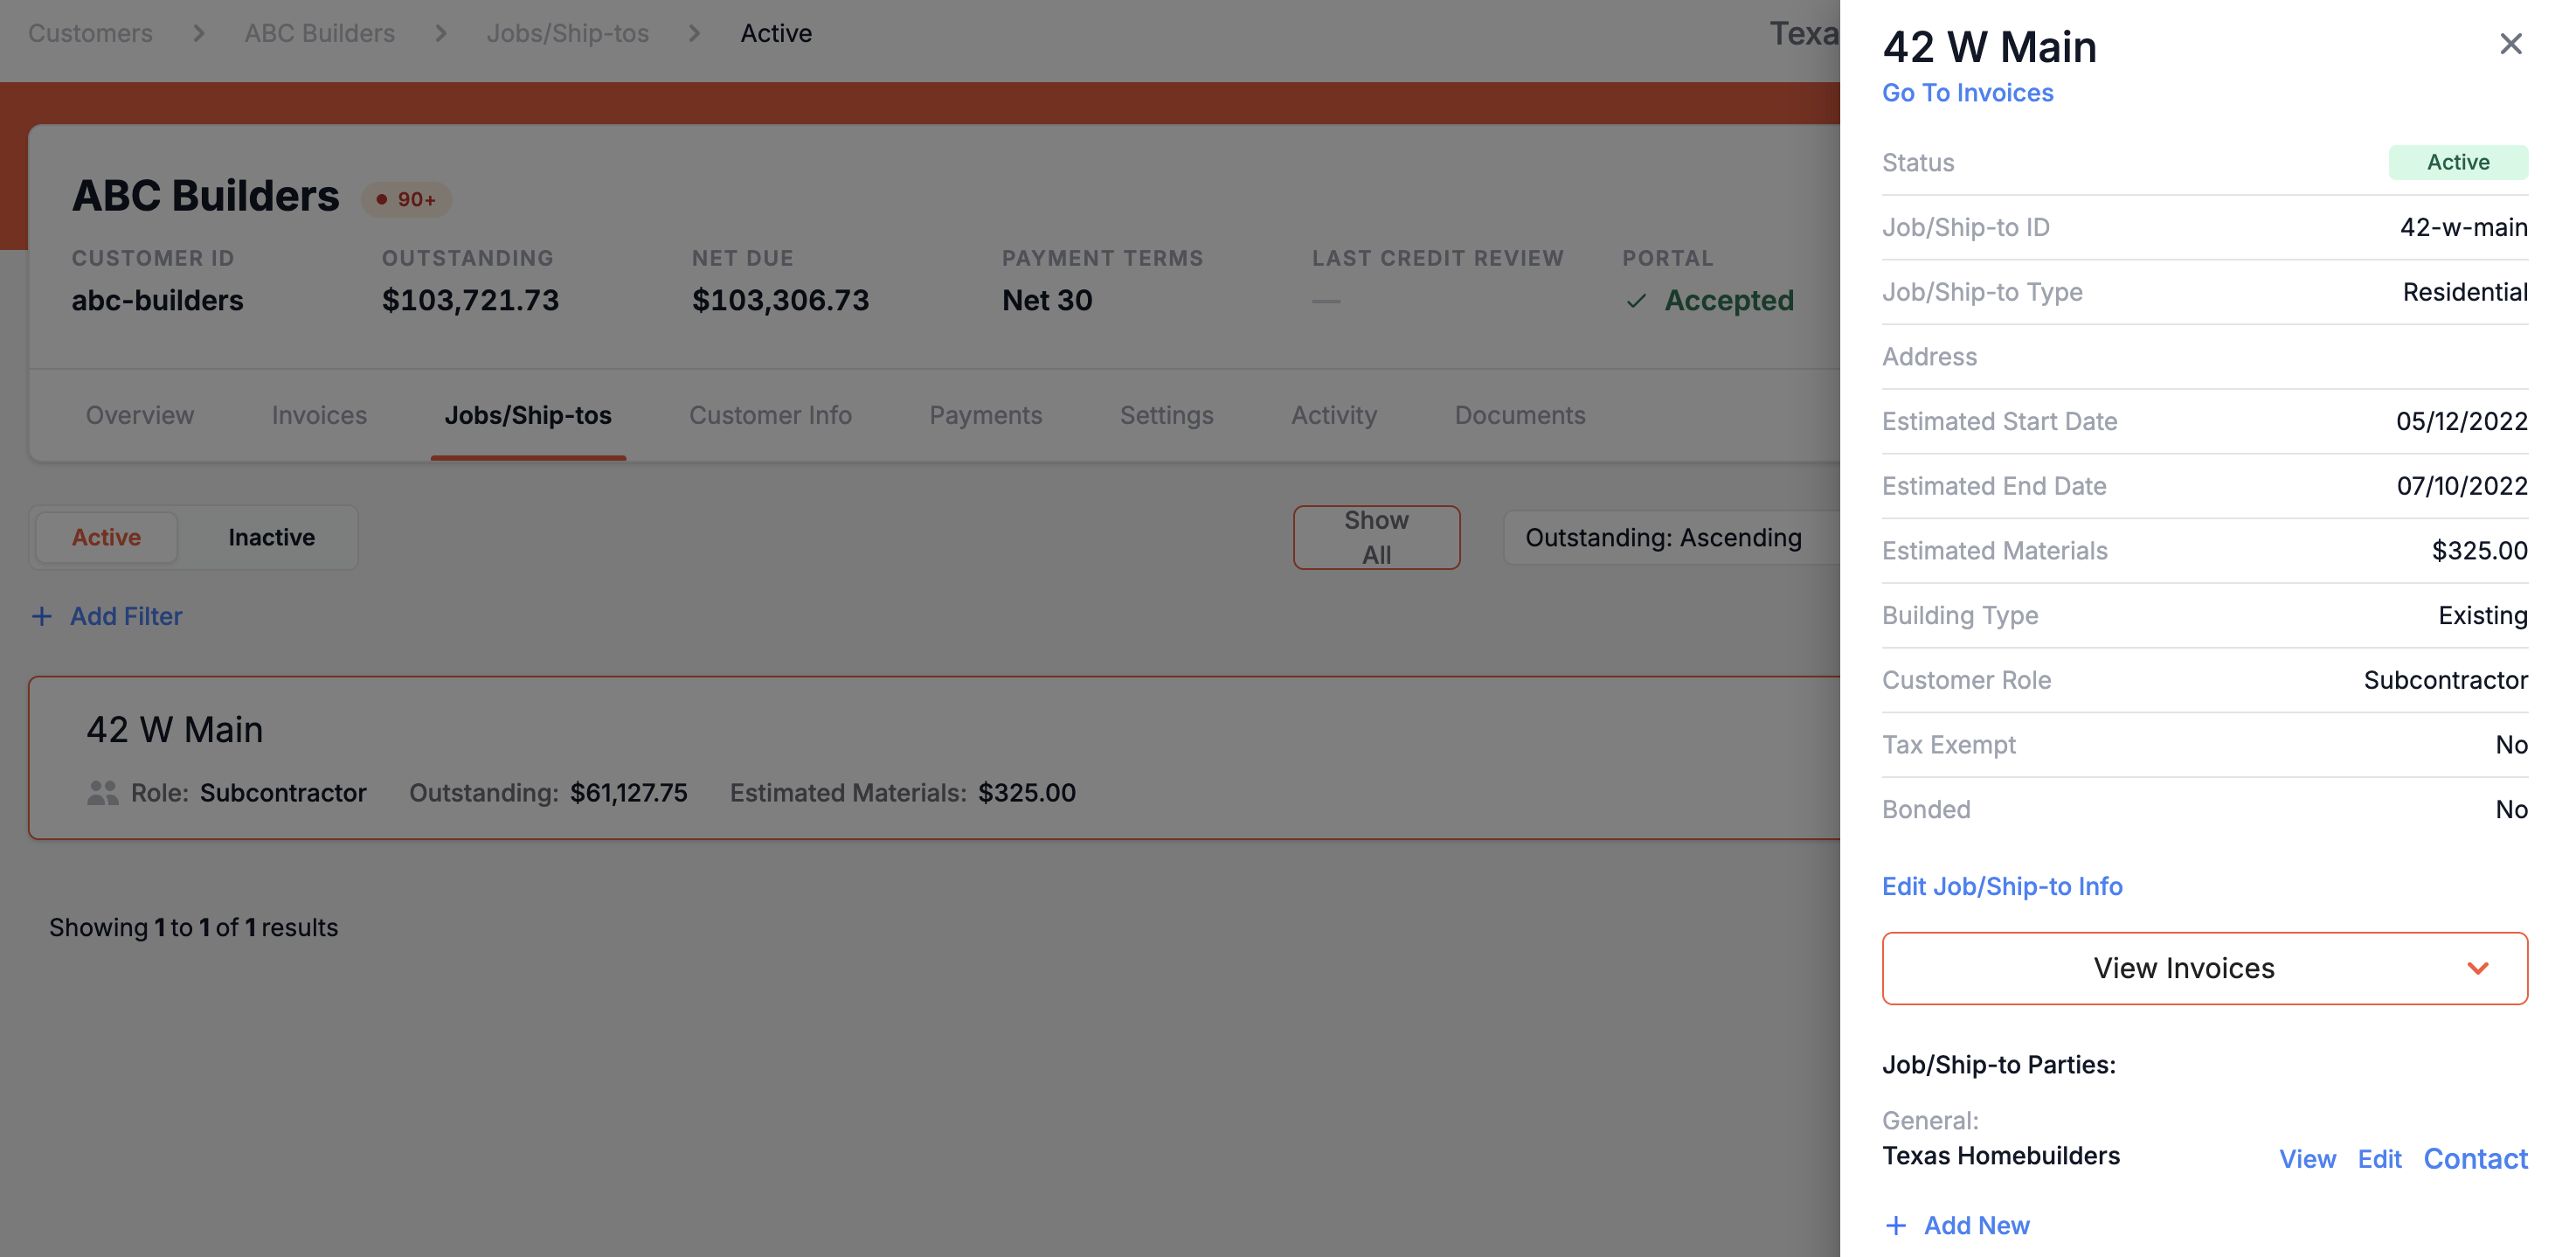
Within Suppli, you have the option of editing some of the details of a Job/Ship-to as it appears in Suppli. To do this, select a Customer and then go to the Job/Ship-to tab. Next, click "Edit Job/Ship-to Info" and then enter the new details in the fields shown below:
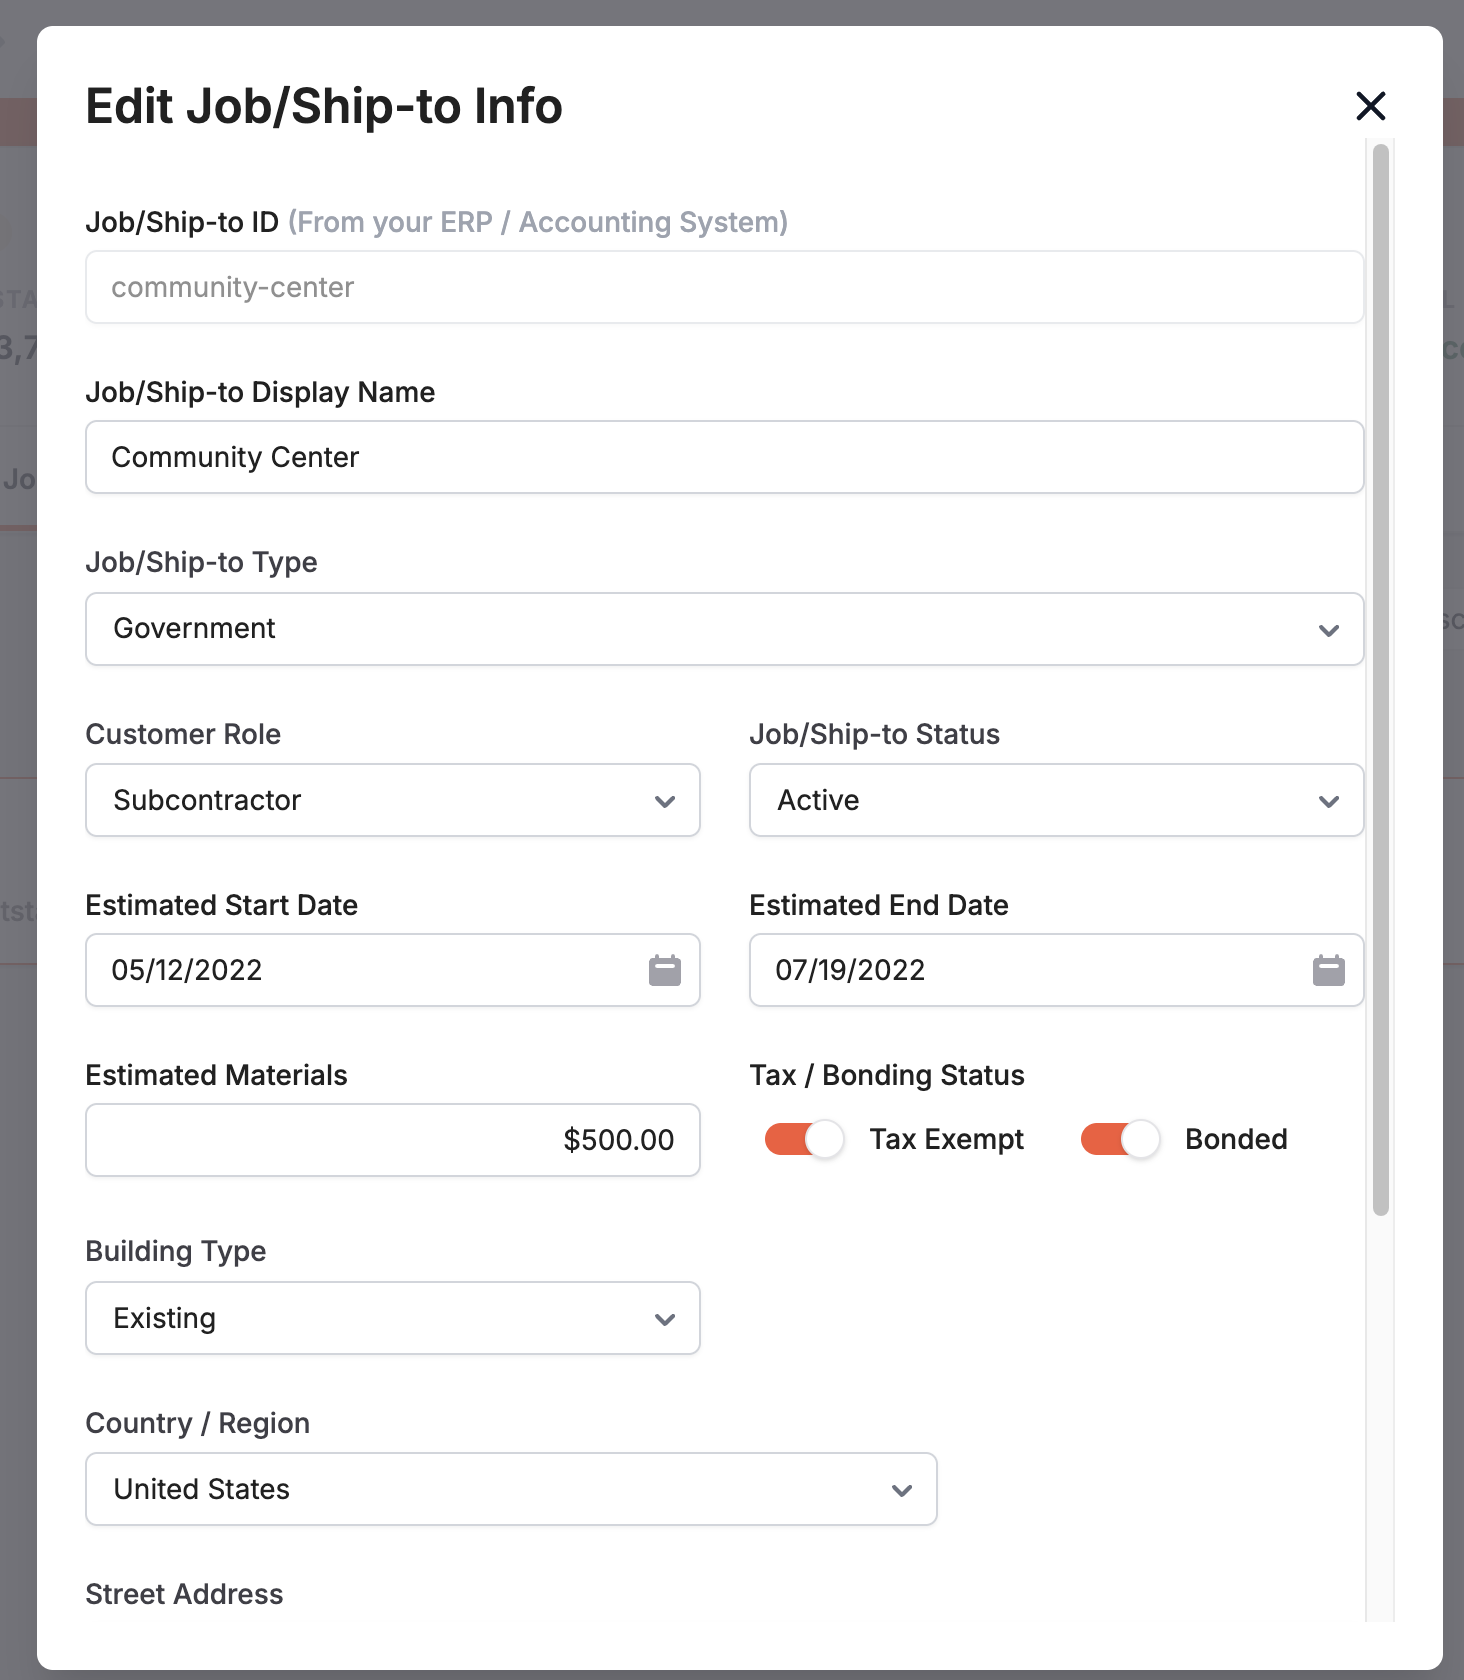
Please note that any changes made to a Job/Ship-to within Suppli, including the Job/Ship-to Display Name, are not reflected in your ERP or invoice-generating software.
Paid Invoices
Paid Invoices: Actions
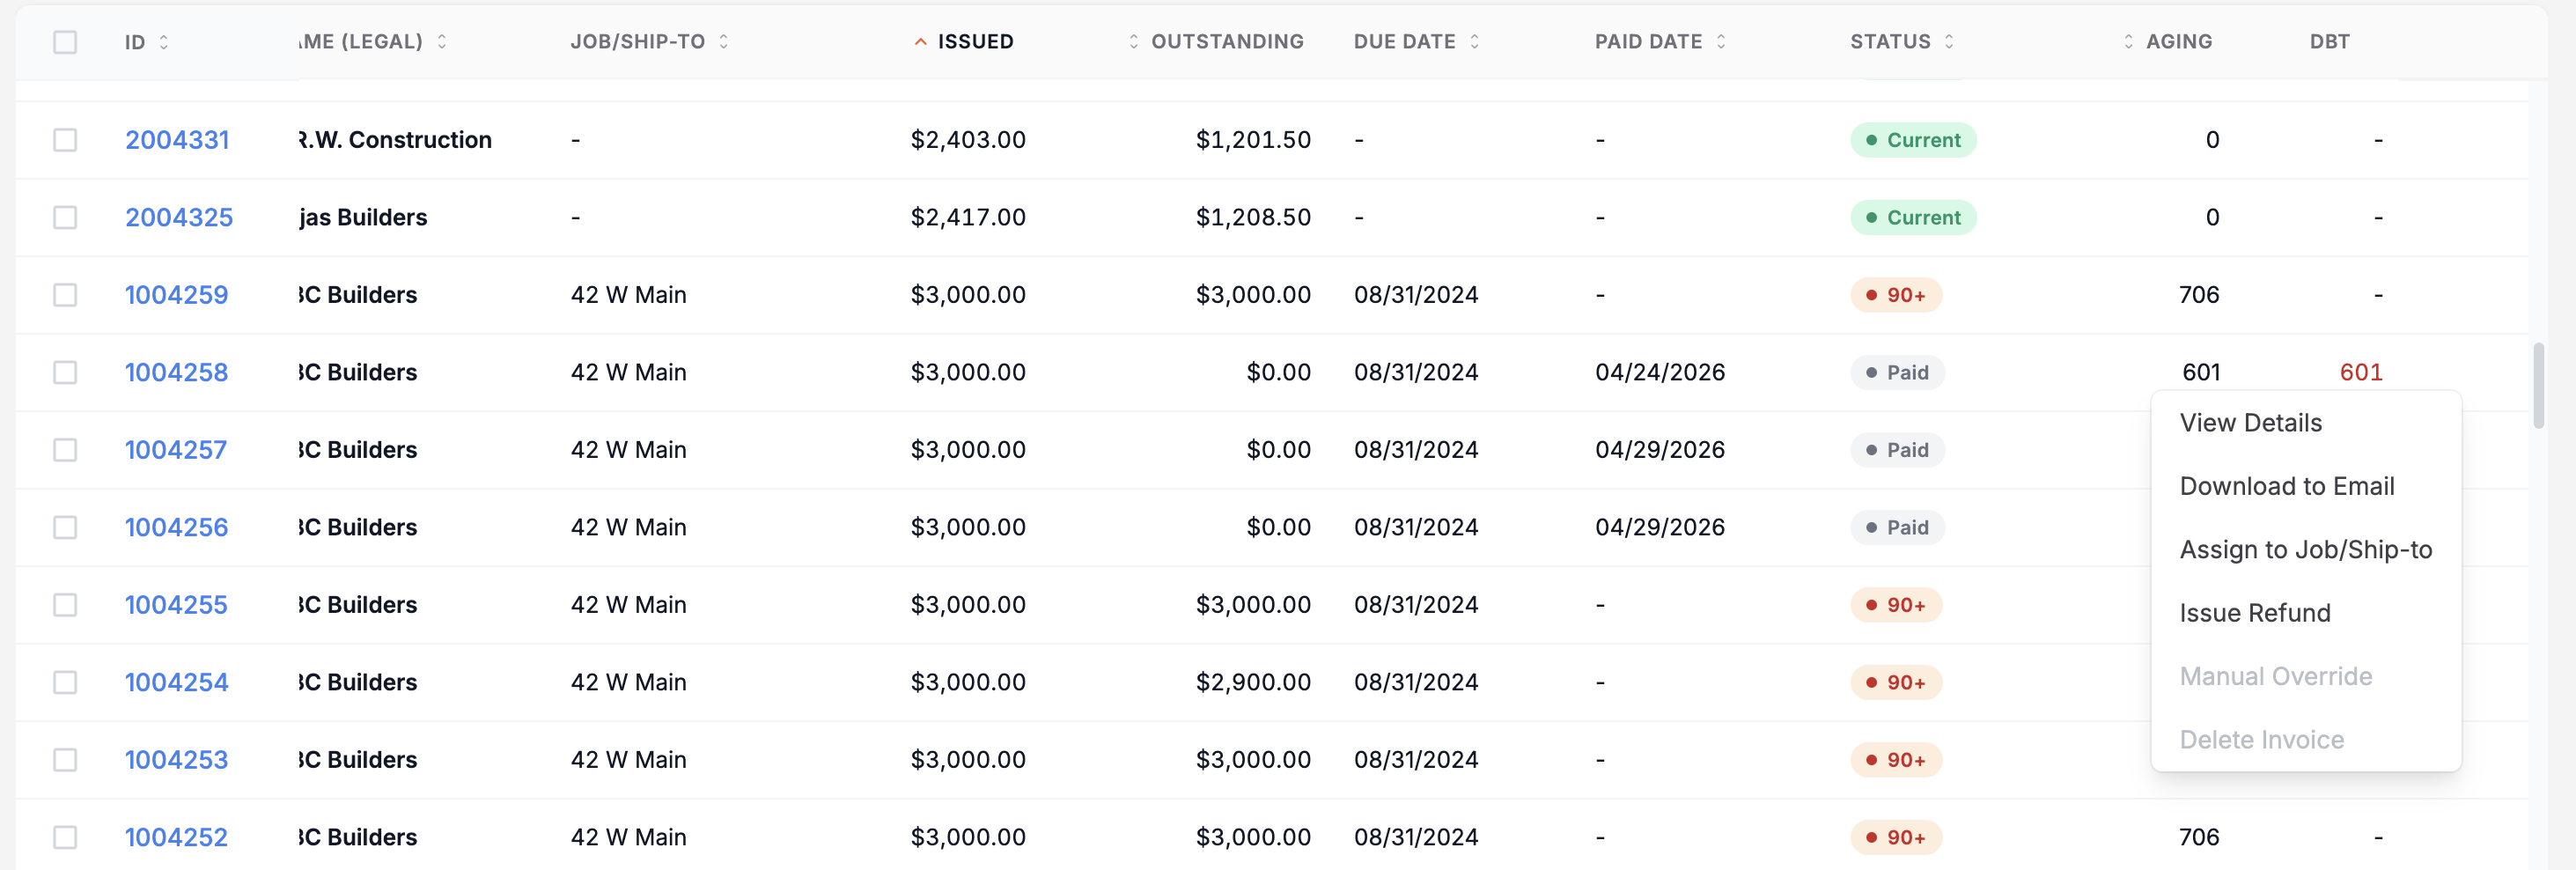
To take action on paid invoices, click the three dots on the right-hand side of the table. The following actions can be performed on Paid Invoices:
View Details: To open the invoice details sidebar
Download: To download a PDF copy of an invoice
Issue Refund: To issue a refund on a fully paid invoice
Assign to Job/Ship-to: To assign (or reassign) the invoice to a Job/Ship-to